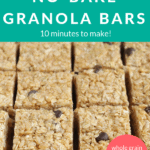
You can make a batch of these No-Bake Granola Bars in less then 30 minutes—and have a yummy snack filled with whole grains and protein ready for the coming week. (You can even stash half of the batch into the freezer for a future week!)

No-Bake Granola Bars
I like to mix up buying store bought snacks and making them at home to keep things interesting and to keep my grocery budget in check and these No-Bake Granola Bars are one of my go-to recipes.
Honestly, my husband loves them so much that he takes half of every batch I make to his office, which is a nice review!
They come together easily in a bowl and just need 10 minutes in the fridge to set up into sliceable bars. You can make them thick or thinner and they store so well in the fridge or freezer for weeks.
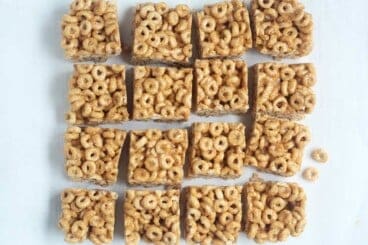
The best part? There’s no baking and you can customize the flavor for your family.
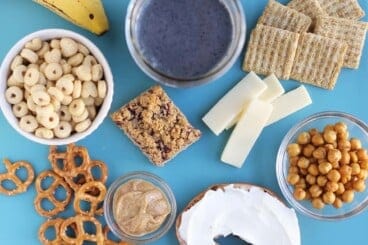
Ingredients You Need
These are the ingredients you’ll need to make this recipe. See the full information at the bottom in the recipe.
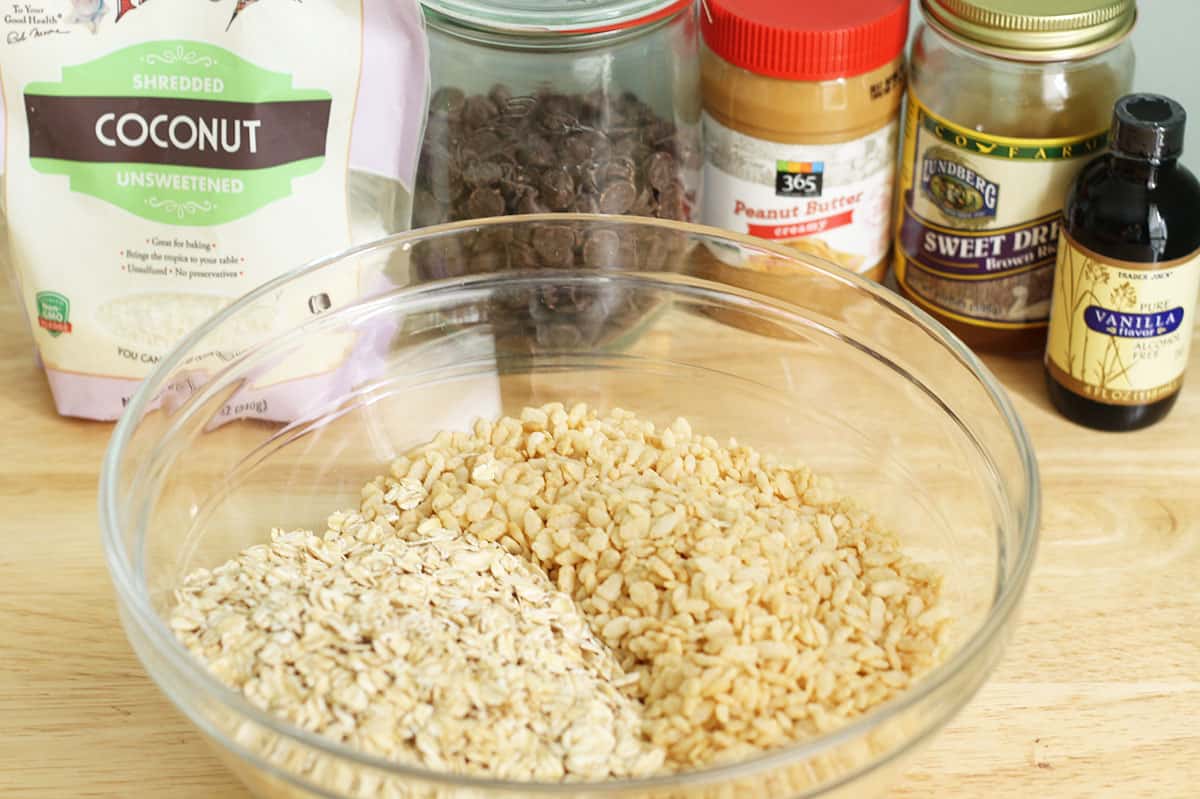
- Rolled oats: These are sometimes called “old-fashioned oats” at the store.
- Crispy rice cereal: Like Rice Krispies or a store brand equivalent.
- Shredded unsweetened coconut: This adds nice flavor to the bars. You can use additional cereal in place of the coconut if desired.
- Add-ins: You can use dark or semi-sweet chocolate chips, raisins, or dried cherries or cranberries—or a mix of all three.
- Unsweetened creamy peanut butter: Or sunflower seed butter for a nut-free option. Either of these helps the bars hold together.
- Brown rice syrup: This is very sticky and is the best way to make no-bake granola bars have the same texture as bars you buy from the store and also hold together. See the Notes at the end of the recipe for a tip on how to make these with honey.
- Vanilla extract: This adds nice flavor.
Step-by-Step Instructions
Here’s a look at the steps involved in making this recipe. Scroll down to the bottom of the post for the full information.
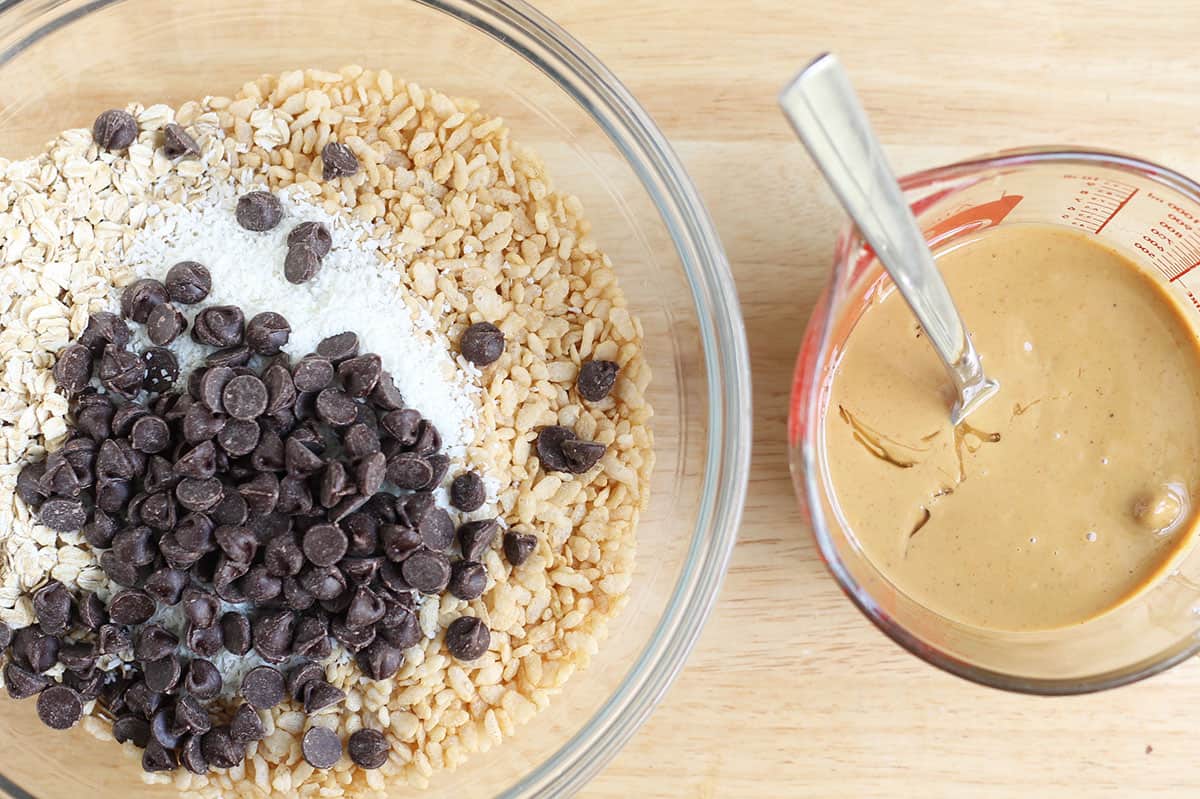
- Add the dry ingredients to a bowl.
- Warm the peanut butter and brown rice syrup, then stir into the bowl.
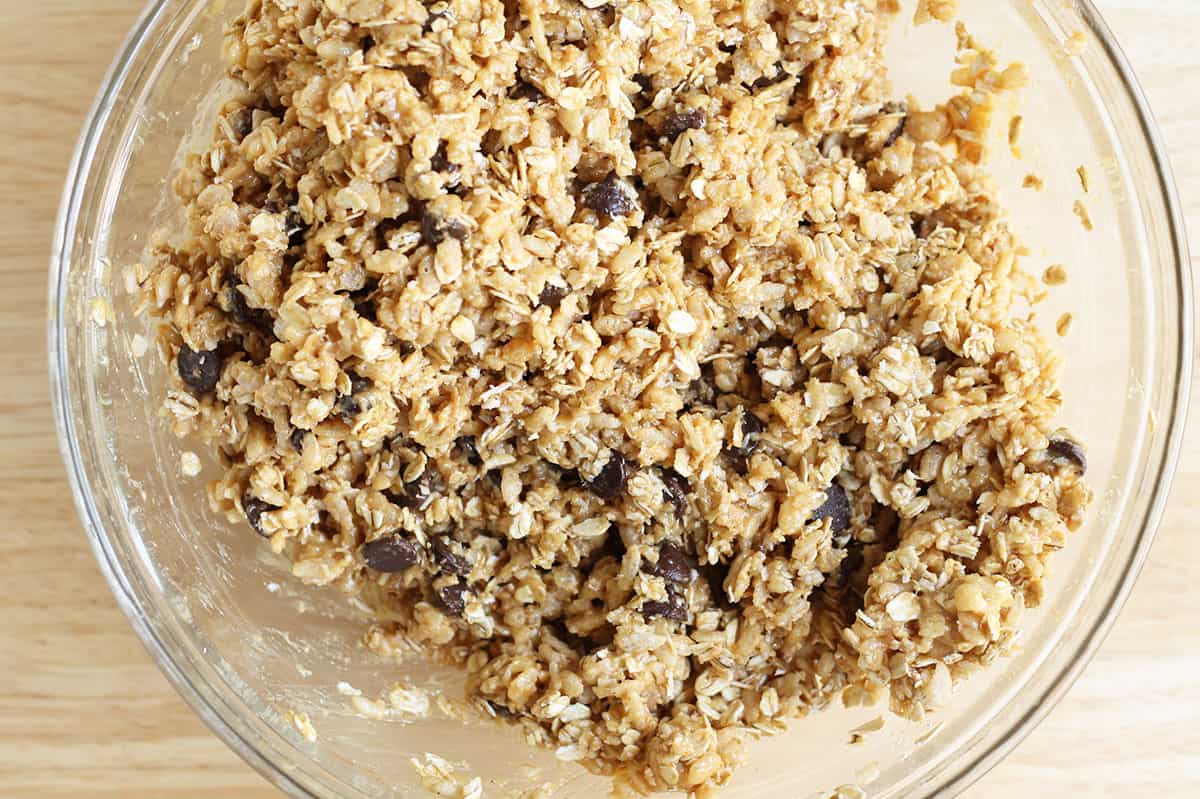
- Stir until combined.
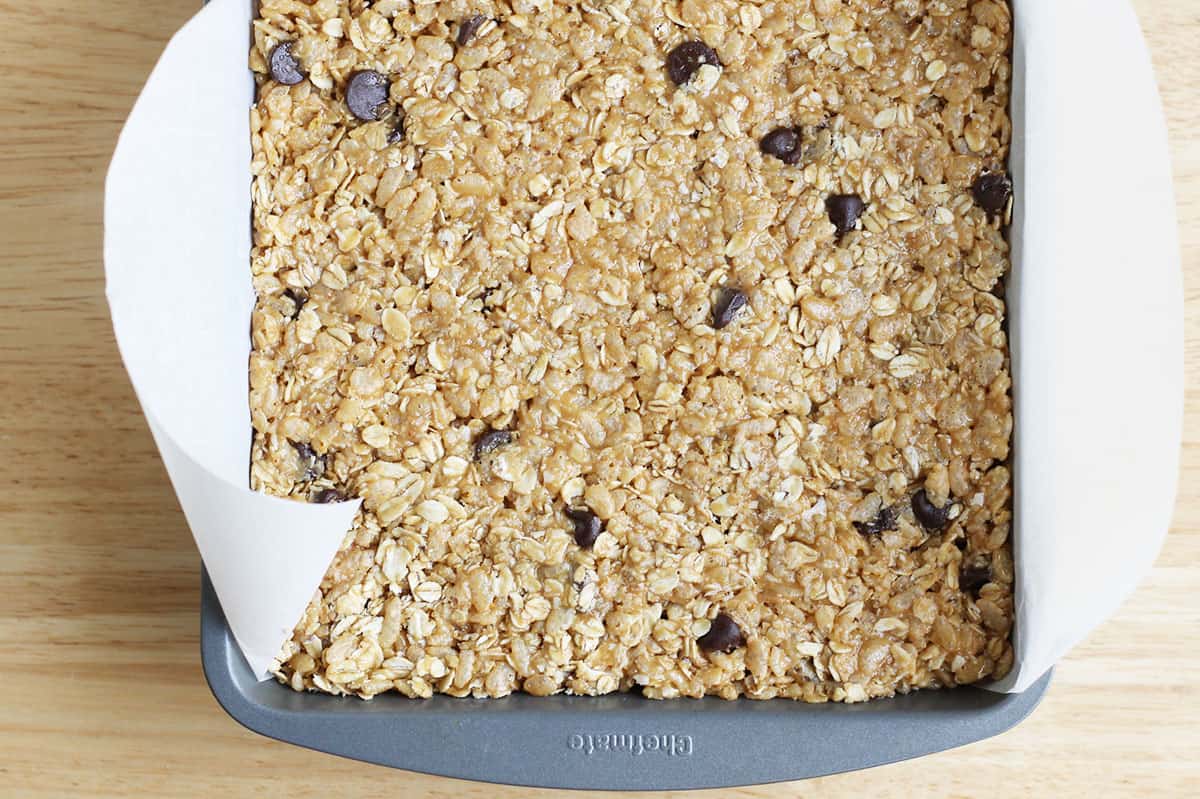
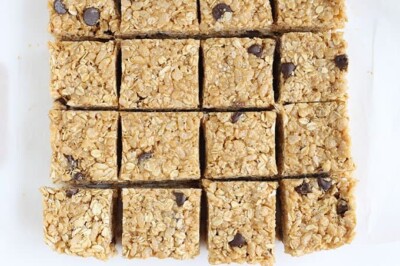
- Press into a parchment lined baking pan and let set before slicing.
TIP: I like to line the pan with parchment and leave a 2-inch overhang on two sides so I can easily lift the bars out to slice. You can slice in the pan if you prefer.
Why to Use Brown Rice Syrup
I try my best to use regular pantry ingredients in my recipes, but this is one case when using brown rice syrup really adds a deliciously chewy texture and helps the ingredients hold together nicely. I live in a small town and can find it in my regular grocery stores near the sugar or agave and it usually costs under $5 for a jar.
One 21-ounce jar will make two batches of these bars. You can also order it online, though it’s often more expensive (for reasons I don’t quite understand!). An opened jar lasts for months in the fridge so you can use it again whenever you’re ready.
TIP: My Soft-Baked Granola Bars are another easy option if you don’t have or can’t find brown rice syrup.
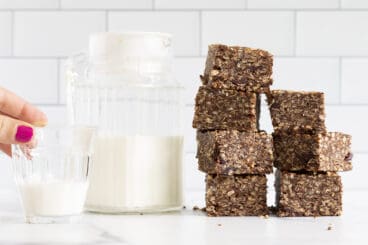
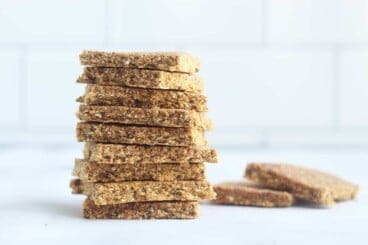
Chewy Granola Bars
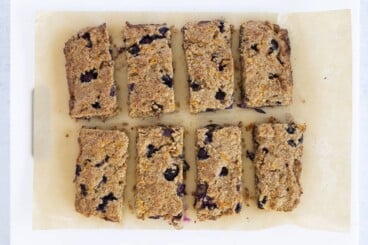
You can make these thicker bars using an 8×8-inch pan or thinner by using one that’s 11×17-inches. Both create chewy, crispy granola bars similar in texture to a “chewy” granola bar you’d buy at the store.
We store these in the fridge to keep them fresh and to reduce their stickiness, but you can pack them for snack and they’ll hold together fine. We usually pack them with an ice pack just to ensure they stay cool.

How to Store
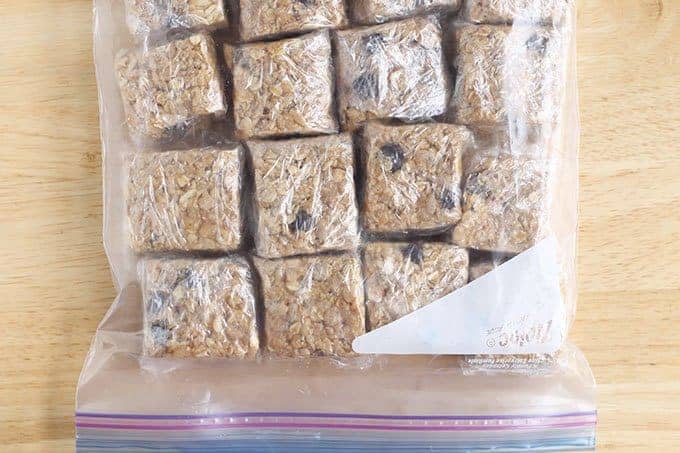
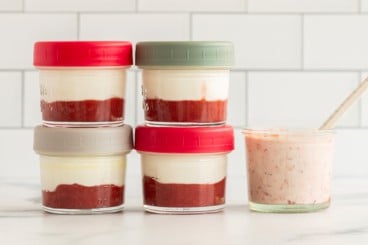
I prefer to wrap each bar in plastic wrap —this is the best way to keep them from sticking and it’s then easy to serve them up for snacks or with lunches. Place wrapped bars into a gallon size storage or freezer bag and store for up to a month in the fridge or up to 3 months in the freezer. Thaw in the fridge or at room temperature.
You can also place layers of bars, with parchment paper in between, in a large storage container.
Best Tips for Success
- These are best slightly chilled. They do soften a bit at room temperature.
- Use raisins, dried cranberries or cherries in place of the chocolate chips if preferred.
- Chop up the chocolate to disperse it more evenly. (It’s okay if it melts a little!)
- Pair with milk or fruit for snack or serve for dessert.
- To make these without coconut, use ½ cup additional cereal or oats.
- Use honey in place of brown rice syrup, though increase the nut or seed butter to 1 ¼ cups and use ¾ cups honey. (Otherwise they may be too sweet.)
- Gluten-Free: Use GF Rice Krispies or crispy rice cereal and GF rolled oats.
- Nut-Free: Use sunflower seed butter instead of peanut butter.
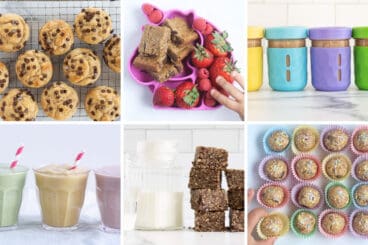
Related Recipes
Please comment below if you have any questions or to offer feedback. I love hearing what your kids think of my recipes and appreciate each comment.
Quick and Easy No-Bake Granola Bars
Ingredients
- 2 cups rolled oats
- 3 cups crispy rice cereal like Rice Krispies
- 1/2 cup shredded unsweetened coconut
- 1/3 cup dark or semi-sweet chocolate chips raisins, or dried cherries or cranberries
- 1 teaspoon vanilla extract
- 1/4 teaspoon salt
- 1 cup unsweetened creamy natural peanut butter
- 1 cup brown rice syrup
Instructions
- Line an 8×8-inch pan with parchment paper or foil, allowing about a 2 inch overhang on two ends. (You’ll use that to lift the bars out of the pan when you’re ready to slice them.
- Add the rolled oats, cereal, coconut, chocolate chips, vanilla and salt to a large bowl.
- Warm the peanut butter and brown rice syrup for about 30 seconds in the microwave.
- Pour into the oats mixture and stir with a spatula or wooden spoon until thoroughly mixed. (Use clean hands if needed to get it all well incorporated. It’s okay if the chocolate melts a little.)
- Pour into prepared pan and press out to all corners evenly. It will be sticky, so be patient if it sticks to your hands at all!
- Chill for at least 10 minutes in the fridge. Remove from fridge and use parchment to lift the bars out of the pan. Place onto a cutting board and slice into squares.
- Serve or wrap and store for later.
Video
Notes
- To Store: Wrap each bar in plastic wrap if you prefer—this is the best way to keep them from sticking and it’s then easy to serve them up for snacks or with lunches. Place wrapped bars into a gallon size storage or freezer bag and store for up to 2 weeks in the fridge or up to 3 months in the freezer. Thaw in the fridge or at room temperature.
- You can also place layers of bars, with parchment paper in between, in a large storage container.
- You can make these thicker bars using an 8×8-inch pan or thinner by using one that’s 11×17-inches.
- I prefer these slightly chilled. They do soften a bit at room temperature.
- Use honey in place of brown rice syrup, though increase the nut or seed butter to 1 ¼ cups and use ¾ cups honey. (Otherwise they may be too sweet.)
- Use raisins, dried cranberries, dried cherries, or white chocolate chips in place of the chocolate chips if preferred.
- Gluten-Free: Use GF Rice Krispies or crispy rice cereal.
- Nut-Free: Use sunflower seed butter instead of peanut butter.


YUM! We (family of six) LOVE these and the youngest is 4, so these are for everyone not just toddlers! The bars are fast and easy; definitely making these for filling on-the-go snacks.
I make this so so many times for my family! My husband and 3 kids love it! We also enjoy the chocolate granola bars too! Thank you for the wonderful recipe!
Delicious and easy! Came together quickly. Great option on a day when I really wanted to bake a snack for the family but didn’t want to turn the oven on. Thanks Amy!
I don’t have access to brown rice syrup, but I live in the UK. Would golden syrup work? Sounds like the consistency is similar to how you describe brown rice syrup.
If the consistency is very thick and sticky like honey, it may work similarly. Let me know if you try it!
What are some alternatives to rice cereal? Thanks!
Puffed grains, Chex, Kix, O cereal…any smaller shape that’s crunchy
We love these bars and they are so versatile. Now that I knew the ratios, I’ve made these with lots of different flavors and mixins. It’s worth tracking down some brown rice syrup for the great texture!
This was a delicious recipe! I made some changes b I didnt have brown rice cereal so I smashed up some chex and I used dried blueberries. It really was so yummy!