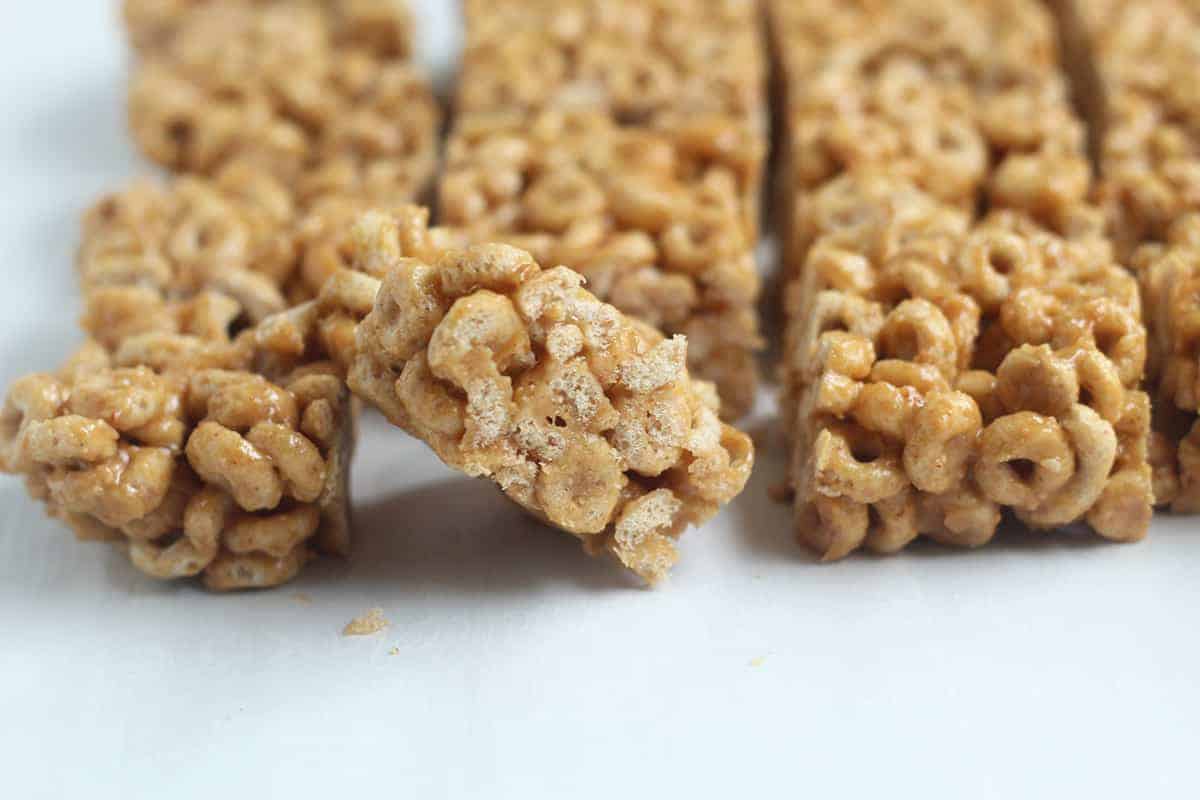
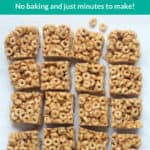
In about 10 minutes and 3 ingredients, you can make seriously delicious Cereal Bars. They’re crispy, flavorful, and a perfect snack for kids.

I recently had a box of cereal that my kids completely lost interest in, and in an effort to avoid wasting food, I turned it into these delicious bars. I love making no-bake snacks like this one from pantry staples.
These Cereal Bars are a fast iron-rich food for kids that also stay crispy during storage—so you can have a homemade snack on hand all week!
Why This Recipe Works
Peanut butter and honey (or brown rice syrup) work to hold dry cereal together and allow you to easily form a homemade snack bar that’s high in protein and easy to store.
This is a nutritious kids snack that can double as a healthy breakfast bar, too. Serve this toddler snack on its own, or pair with Vanilla Milk, a toddler smoothie, or Blueberry Yogurt.
Table of Contents
Ingredients You Need
To make this cereal bar recipe you’ll need the following ingredients on hand and ready to go.
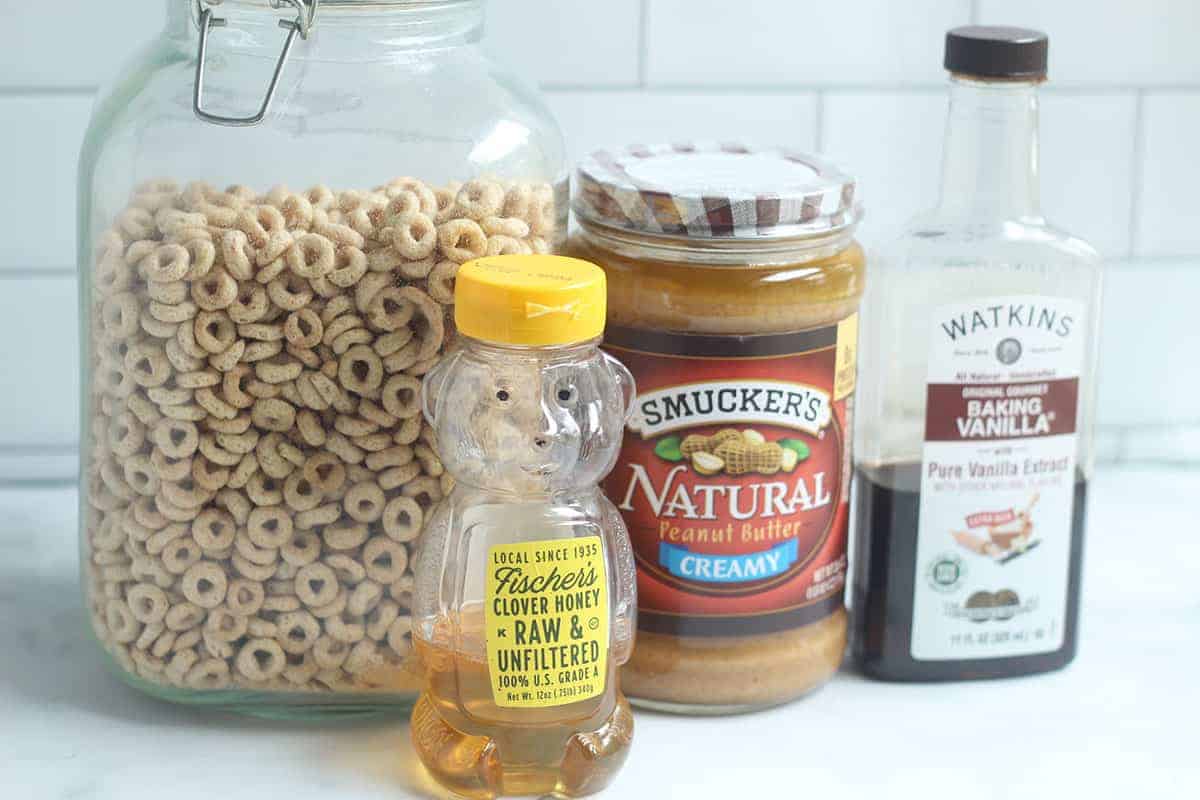
- O cereal: You can use Cheerios or a store-brand O cereal). (Alternatively, you can use Rice Krispies or Kix, all of which are also low in added sugars.)
- Honey: This is sticky and works with the peanut butter to hold the cereal together. Alternatively, you can use brown rice syrup, which is a little less sweet but similarly sticky.
- Peanut butter: I used smooth natural style. Any creamy style of nut or seed butter should work similarly as long as it’s not too runny.
TIP: You can make this nut-free with sunflower seed butter. You can also add a little vanilla extract for additional flavor if you like.
Step-by-Step Instructions
Here’s a look at how to make this cereal bar recipe so you know what to expect. Scroll down to the end of the post for the full recipe, including the amounts and timing.
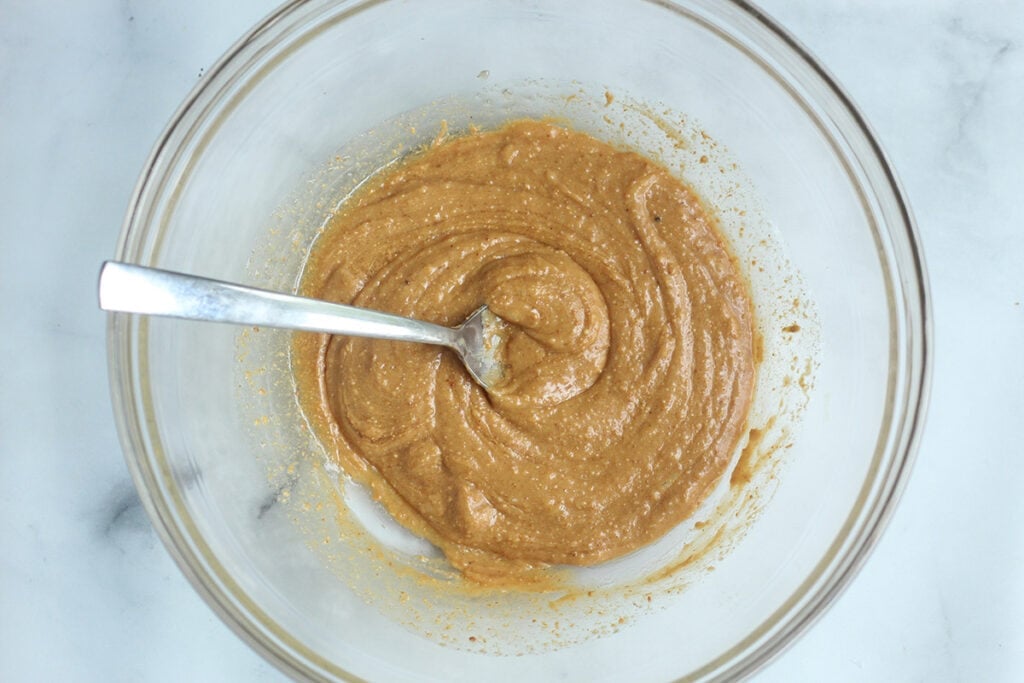
Step 1. Stir the peanut butter and honey together in a big bowl.
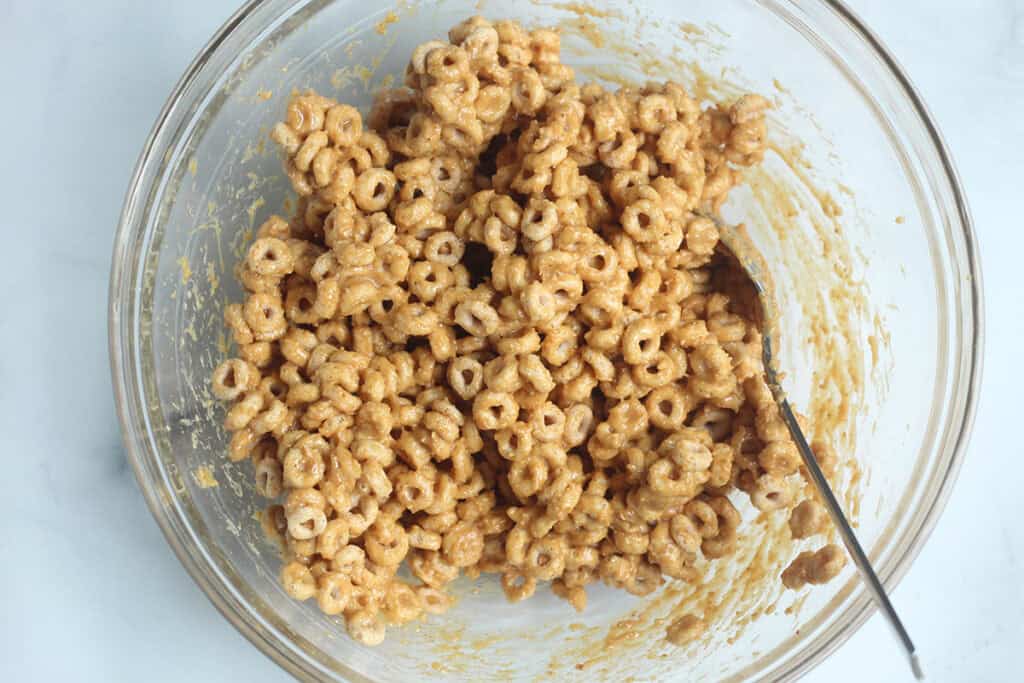
Step 2. Add the cereal. Mix thoroughly, but gently, with a spatula or big spoon.
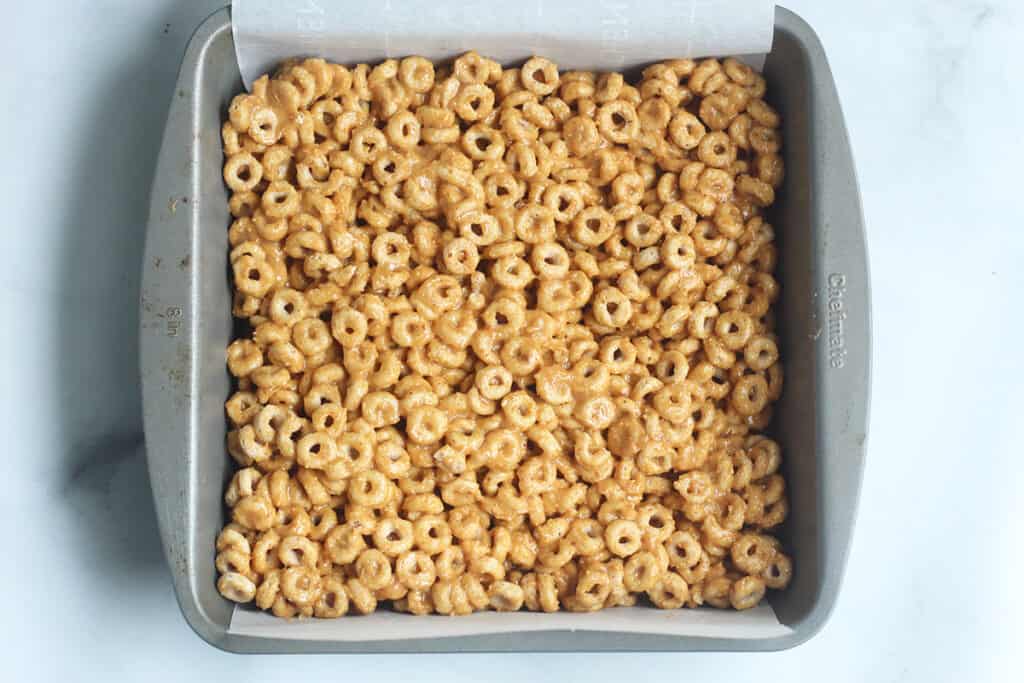
Step 3. Add to a parchment-lined baking pan. Press down so the batter goes to the edges of the pan and is an even thickness.
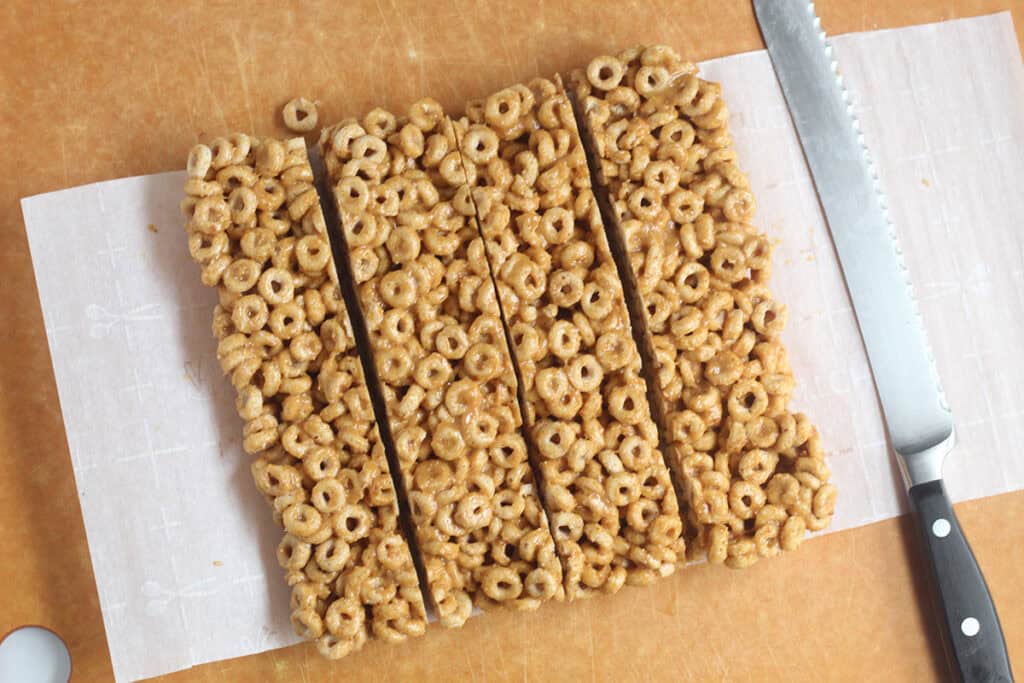
Step 4. Chill in the fridge—this is key for helping the bars hold together! Cut and serve.
Featured Review⭐️⭐️⭐️⭐️⭐️
“SO good and SO happy to be able to provide something better than the junk cereal bars from the store. Our whole family devours these!” —Baylee
Your toddler won’t eat? Help is here!
Sign up for our email updates to get tips and ideas sent your way!
Frequently Asked Questions
I’ve made these with both Cheerios and Trader Joe’s Joe’s O’s. The Cheerios hold up longer (they stay crisper), but both work. You can explore other options, too.
These will store for up to 5-7 days in the fridge if wrapped well. They hold up best when stored in the fridge and served cold. They soften at room temperature a little, so I recommend serving them cold if possible. You can also freeze them.
You can make them with almond butter or sunflower seed butter. They should work exactly the same with a gluten-free O cereal, though there may be some variation in how long they stay crispy.
Tips for Bars that Hold Together
When you store them in the fridge and serve them cold, they hold together even better. If taking them out of the house or as a lunch snack, tuck in an ice pack. They hold together better with brown rice syrup than honey, but both can work if they are kept cold.
How to Store
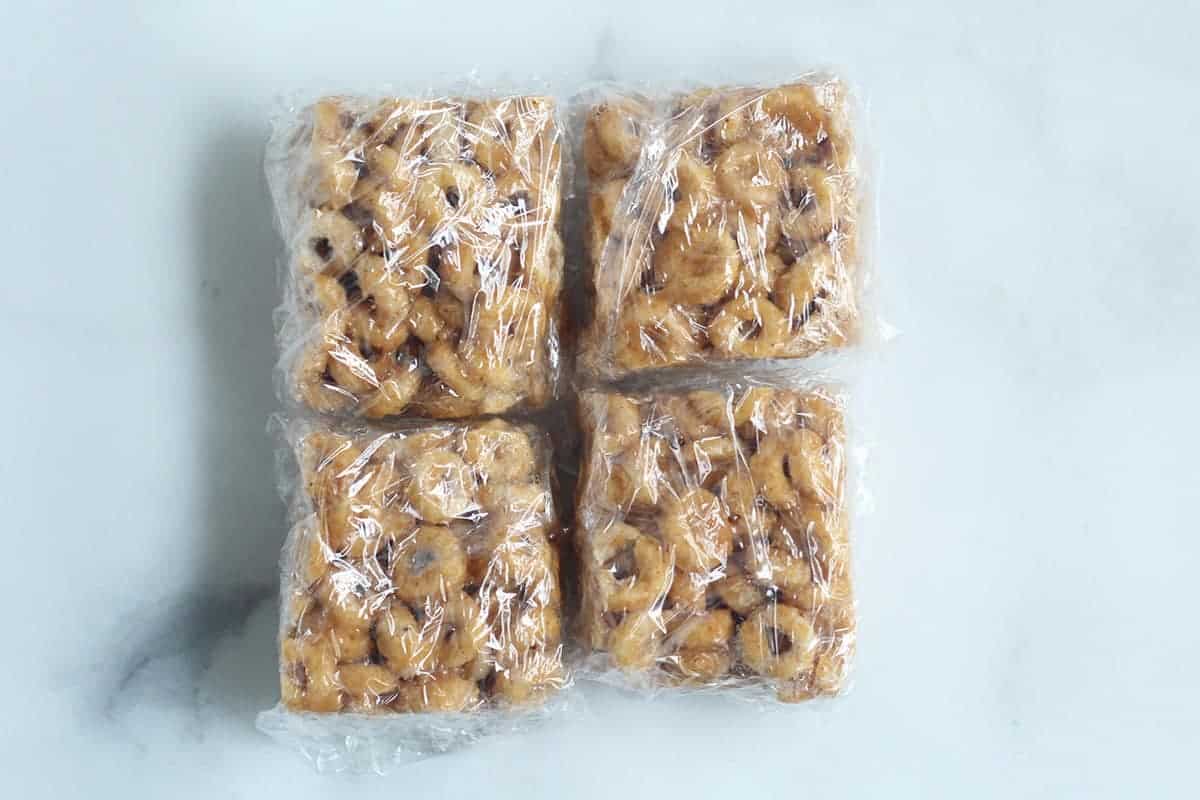
I like to wrap each cereal bar in plastic wrap, then store in a storage bag or airtight container in the fridge. You can skip the plastic wrap and you can also wrap and store in the freezer.
Best Tips for Success
- You can add a little vanilla extract for additional flavor.
- Trade in brown rice syrup for the honey—which is a little stickier than honey, so the bars hold together a little better, and less sweet tasting.
- Slice into squares or rectangular bars according to your preference.
Related Recipes
Breakfast
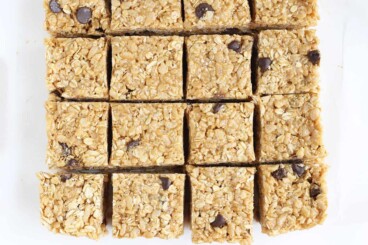
Easy Homemade Granola Bars
Breakfast
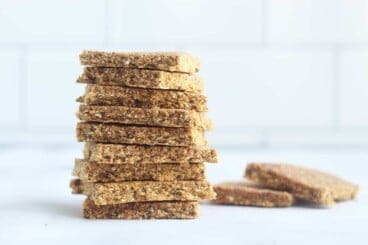
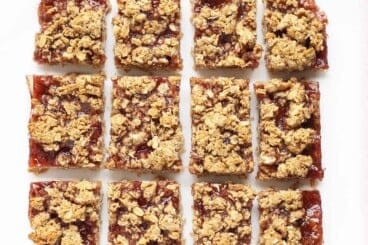
Healthy Breakfast Bars (with Jam)
Snacks
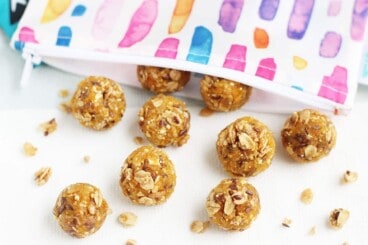
Easy Granola Bites
I’d love to hear your feedback on this recipe if you try it, so please comment below to share!

3-Ingredient Cereal Bars
Ingredients
- ½ cup smooth natural peanut butter (like Smucker's Natural)
- ½ cup honey (or brown rice syrup)
- 3½ cups O cereal (like Cheerios)
- ½ teaspoon vanilla extract, optional
Instructions
- Line an 8×8-inch baking sheet with parchment paper, leaving a 2-inch overhang on 2 sides (which will make it easy to lift the bars out when it's time to slice them).
- Add the peanut butter and honey to a large heat-safe bowl. Warm in the microwave for 15-30 seconds, or until easy to stir. (This may not be necessary if you keep your peanut butter and honey at room temperature.) Stir together to combine.
- Add the cereal and vanilla, if using, to the bowl. Stir gently, but thoroughly, using a wooden spoon or spatula. It may take a minute or so to get the mixture evenly coated.
- Press mixture into the prepared baking pan, gently pressing evenly and into the corners.
- Chill for at least 20 minutes. Remove from the fridge, lift out using the parchment paper, and slice on a cutting board.
- Wrap each bar in plastic wrap (optional) and store in an airtight container in the fridge. Serve cold.
Equipment
Video
Notes
- I like to wrap each bar, then store in a storage bag or airtight container in the fridge. You can skip the plastic wrap, but do store them in an airtight container.
- Store in the fridge for up to 2 weeks. (Ones made with Cheerios are likely going to be fine in the fridge if tightly wrapped for up to a month. Other brands may start to taste stale after 1-2 weeks.) You can also wrap and store in the freezer for up to 3 months.
- Nut-free: Use sunflower seed butter.
- You can add a little vanilla extract for additional flavor.
- These hold their shape best when stored in the fridge and served cold. They soften a little at room temperature.
- Brown rice syrup is an alternative to honey that is a little less sweet tasting and stickier, so it helps the bars hold together a little better. You should still plan to serve them cold for best results.
Nutrition
This post was first published June 2021.


Could you substitute Karo syrup or maple syrup for honey? I can’t find brown rice syrup.
I haven’t tried those options but maple syrup is not sticky enough. I worry the syrup would taste much too sweet.
This is SO delicious! I used sunflower seed butter instead of peanut butter. It doesn’t hold together like a bar- I wonder if it’s because of my substitution. Also very sticky so it’s better as a snack at home rather than traveling or daycare.
Sunflower seed butter can be runnier so it could be that. Try to make sure to serve them super cold and that will help!
Can I sub Cherios for puffed rice?
Looking for a budget friendly gluten free option.
Also thinking along the lines of healthier LCM bars.
Yes, that should work!
It worked mostly. I didn’t 3 cups puffed rice and ½cup of puffed quinoa and chilled overnight. They are still quite soft and sticky making for very gooey fingers. I’m going to have a play and see if I can find a way to firm them up a bit more. Delicious though!
Recommendations for other butter (ie almond or oat) with a different flavor of Cherrios? Looking for something that would maybe pair well with the apple cinnamon Cheerios.
SO good and SO happy to be able to provide something better than the junk cereal bars from the store. Our whole family devours these!
Could I sub maple syrup for the honey?
They won’t hold together very well with maple syrup. Alternatively, you can use brown rice syrup, which is a little less sweet but similarly sticky.
These are good but I needed to make some adjustments.
The recipe as written is cloyingly sweet! The need a pinch of salt to balance out all the sweetness. Maybe 1/4 tsp.
I’m not someone who usually reduces the sweetness in recipes but I did cut back the amount of honey the second time I made them. I used 1/3 cup instead of the full amount.
Also a few tips to make preparation easier: I microwaved the peanut butter for 30 seconds to make it more spreadable then added both the vanilla and the honey to the PB before the cereal. It’s too hard to evenly distribute the vanilla if you add it at the same time as the cereal.
Other than those adjustments, they are easy and big hits with my kids.
Very tasty and my 3yo likes them. We added rainbow sprinkles on top. I found myself wishing I added the vanilla before the cereal. They’ve been in the fridge over an hour and they’re still not set at all and very messy to eat. So just FYI, not really practical for on-the-go snacks (I used the honey not the rice syrup). Simple ingredients and easy to make though, we’ll definitely make again! Thank you!
I have some stale cheerios, do you think they would still taste good in this recipe?
I think they would still taste stale. Sorry!
My bars keep falling apart. Do you have a solution? I’ve tried freezing them but then it’s hard to eat
Maybe try them with the brown rice syrup option if you haven’t?
Do you think sunflower butter would work for a nut free version?
Yes, as long as you like the flavor of it.
These are a godsend in my house with my breakfast hating 2 year old. I do 1/2 rice crispy cereal 1/2 cheerios, then 1/4 cup brown rice syrup and 1/4 cup honey. Helps it hold together nicely without being too dry or too sticky like I’ve found by doing just one or the other.
Thank you for our new snack staple!! We used magic spoon cereal and added some marshmallows for fun. My 4 year old had a lot of fun making these!
My twin toddlers helped me make these today, and they are a hit! They’re crunchy, sweet, and a great snack for toddlers AND adults. I will definitely be making these again! The kids loved helping make them, too.