Using just three ingredients, you can customize a homemade Ice Cream Cake for any birthday or holiday in the flavors you (or the kids!) want. It’s super affordable, very straightforward, and so fun to make!
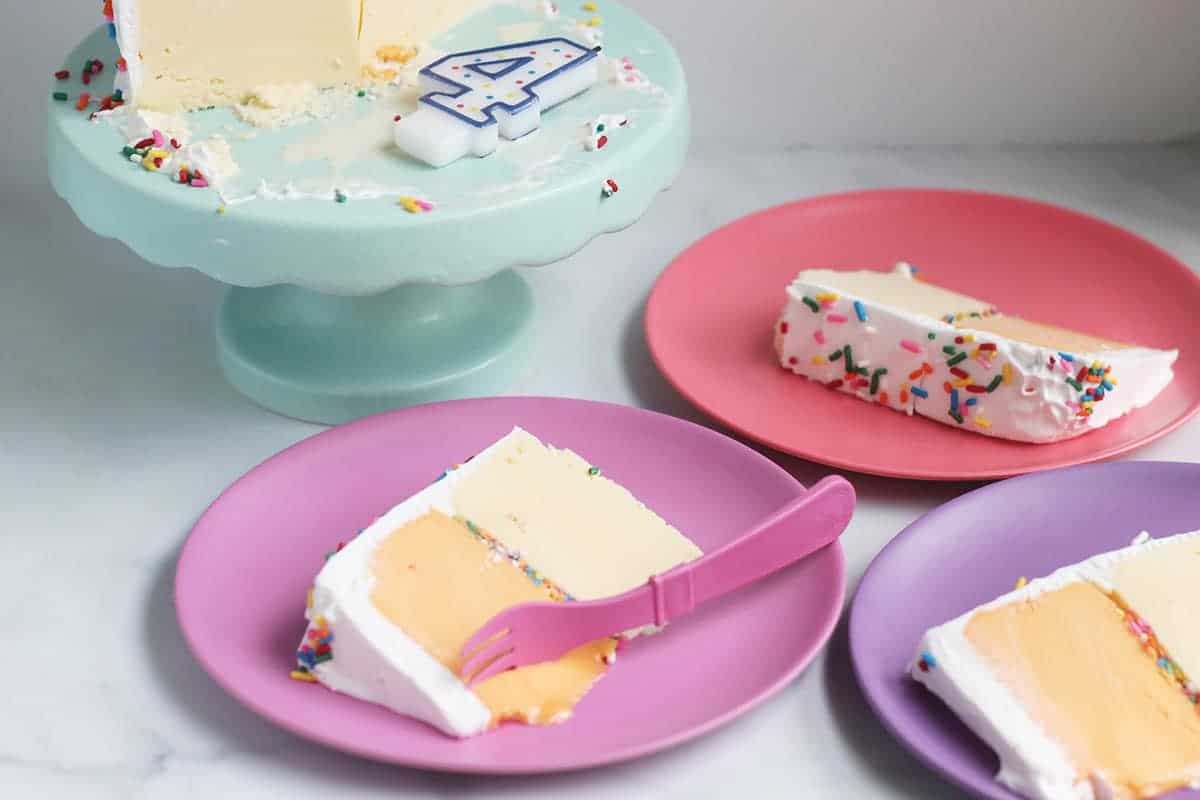
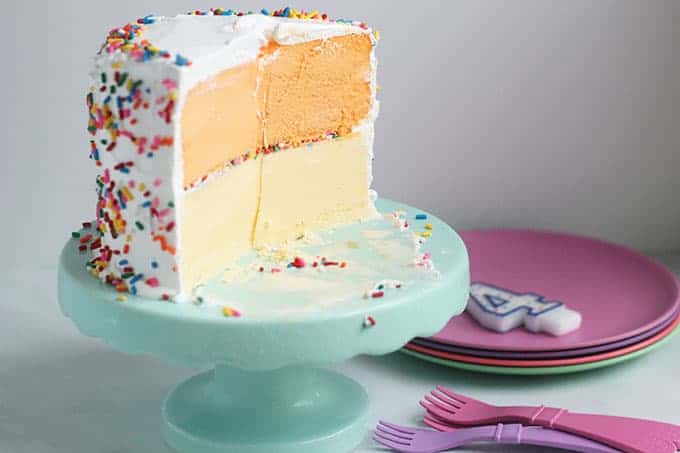
When my middle kiddo turned four, she had a very specific request: Orange sherbet ice cream cake with sprinkles. And while I realize you can buy ice cream cakes, the options for flavors in our area are slim, so I decided to try making one myself. I’m so happy that I did because it was really straight forward and so satisfying to make her the exact dessert she dreamed of!
This would work for any occasion, a kids birthday recipe, holiday, or just a fun way to celebrate a random weekend.
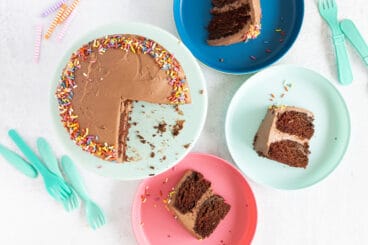
We have now made this a handful of times in a few different flavors and each one has been a total hit.
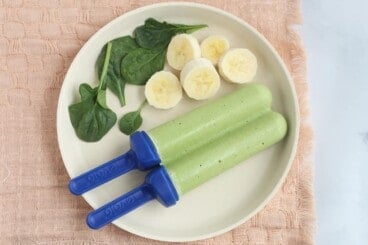
(You may also like Greek Frozen Yogurt, Banana Ice Cream, Blueberry Ice Cream, and Strawberry Frozen Yogurt as more yummy options.)
Table of Contents
Your toddler won’t eat? Help is here!
Sign up for our email updates to get tips and ideas sent your way!
Ingredients You Need
To make an ice cream cake at home, you just need the following ingredients.
- Ice cream: It really doesn’t matter which type you use, though it’s a little easier to slice if there aren’t big chunks in it. You can also use sherbet or frozen yogurt.
- Whipped topping: Look for this in the freezer aisle near the ice cream.
- Sprinkles or other decorations to add to the top.
TIP: You can use any kind of ice cream you prefer to customize it for the occasion. You could make this dairy-free by using dairy-free ice cream.
Step-by-Step Instructions
Here’s a look at the process involved in making this homemade ice cream cake. Scroll down to the end of the post for the full details.
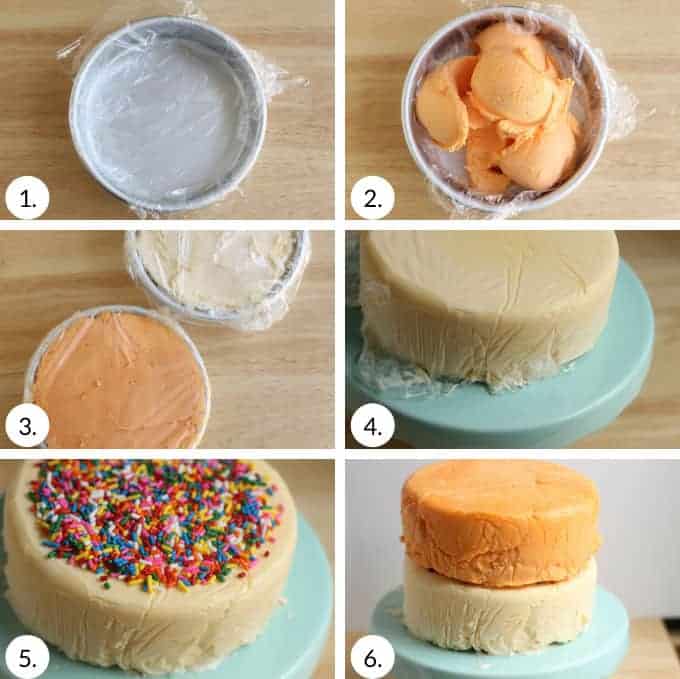
- Line cake pans with one piece of plastic wrap, leaving an overhang so the frozen layer is easy to pull out of the pan.
- Scoop the ice cream into the prepared pans. Cover completely with plastic wrap and freeze.
- Remove layers from the freezer and remove the outer plastic wrap. Place the first layer onto a cake stand or plate.
- Add a layer of sprinkles or cookie crumbs, if desired. Unmold the second layer and place gently on top.
- Coat the top and the sides of the cake with whipped topping and add sprinkles. Freeze.
- Slice and serve.
TIP: You’ll want to start this the day before you plan to serve it so it has a chance to freeze through each step.
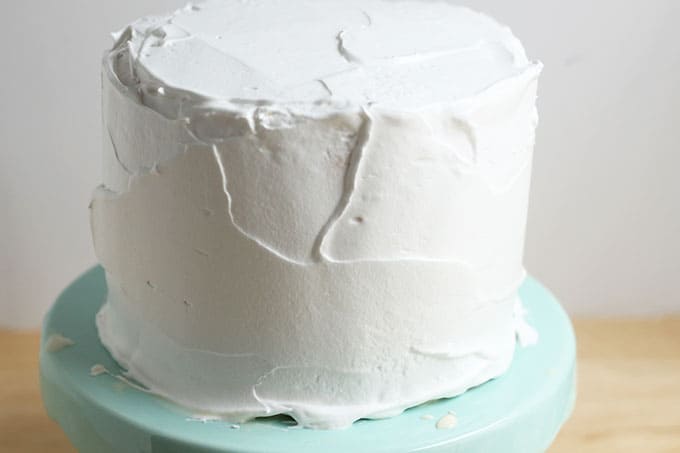
Frosting for Homemade Ice Cream Cake
I wanted to make this birthday cake as easy as possible, so I used whipped topping for the frosting. You can use the kind that’s sold frozen or in the dairy aisle. I find it easiest to spread it on the top and the sides of the cake using an offset spatula, though a regular spatula or butter knife can work too.
This frosting freezes nicely and holds it’s form well. It’s fun for a birthday at home or one with family and friends.
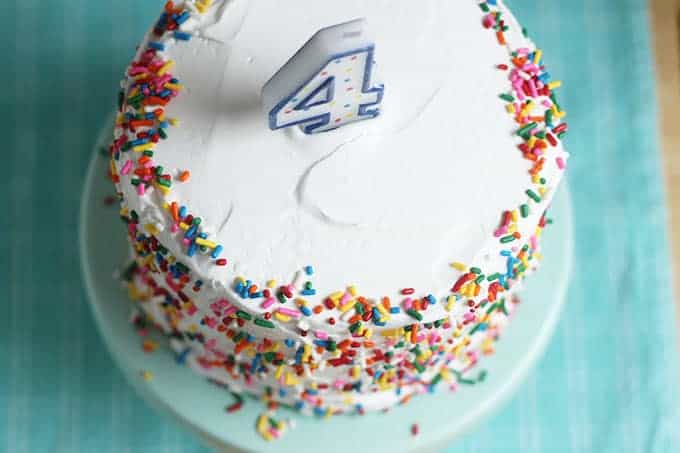
How to Decorate a Homemade Ice Cream Cake
I added sprinkles around the top edge and on the sides of the cake. I placed my cake stand with the cake over a towel and sort of threw the sprinkles at the sides of the cake. I did have to sweep up some that wound up on the floor but it was otherwise easy!
You could use any other decorations you prefer or use a tube of frosting to write on a message or name.
Frequently Asked Questions
You can really use any type that you like. I’ve made this with regular ice cream, sherbet, and also frozen yogurt. The consistently of different types may freeze more or less solid, so you may notice a difference in the firmness when slicing.
I usually start making this the day before I plan to serve it at least. You can do it even more ahead of time than that if you prefer!
Sure! I like the size of the 6-inch ones that I used here, but any size would work. You may need more or less ice cream though.
How to Store
To freeze leftover homemade ice cream cake, slice and place on paper plates. Cover with plastic wrap and freeze for up to 1 month.
Best Tips for Success
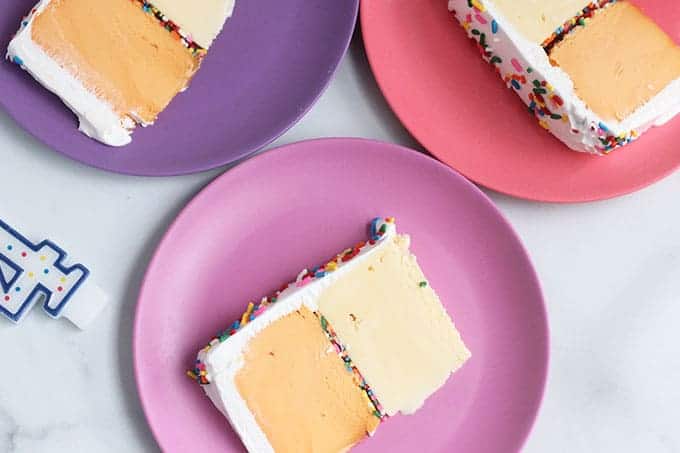
- Use any flavors you prefer. Know that if you use layers that have a slightly different consistency, such as the sherbet and vanilla ice cream shown here, one layer may be softer than the other. (It’s fine, though one layer may be easier than the other to slice through.)
- Use smaller or larger cake pans if desired.
- Use an offset spatula to frost the cake, or a regular butter knife or spatula.
- You should have plenty of time to assemble and frost the cake before it starts to melt, so don’t stress. (But also don’t do that step if you have a lot of other things going on since you will want to get it back into the freezer!) It may melt faster if it’s humid or very warm in your kitchen.
- If you want to make this with lower sugar, look for options in the ice cream section of your store. Or you could try it with my Strawberry Frozen Yogurt. (You’d likely want to double the recipe to make enough for two layers.)
Related Recipes
I’d love to hear your feedback on this recipe if you try it, so please comment below to share!

Homemade Ice Cream Cake
Ingredients
- 1 gallon or two half gallons ice cream, sherbet, or frozen yogurt
- 8 ounces whipped topping (such as Cool Whip or a store brand equivalent, thawed if frozen)
- Sprinkles, cookie crumbs, optional
Instructions
- Let the ice cream soften slightly at room temperature for 5-10 minutes so it’s easy to work with.
- Line two 6-inch round cake pans with one piece of plastic wrap, leaving 1-2 inches overhanging so the frozen layer is easy to pull out of the pan.
- Scoop the ice cream into the prepared pans, pressing down firmly to pack the ice cream into the pan. (My pans are 4 inches deep and I fit a half gallon into each layer.) Level off the top as evenly as you can with a spatula or offset spatula. Cover completely with plastic wrap and freeze for at least 4 hours or overnight.
- Remove layers from the freezer and remove the outer plastic wrap. Run the bottom of the pan under hot water to loosen the edges, then use the plastic wrap to gently pull the layer out of the pan. Place the first layer onto a cake stand or plate.
- Add a layer of sprinkles or cookie crumbs, if desired. Unmold the second layer and place gently on top. (It’s okay if they start to melt a smidge since you want them to melt together a little.)
- Coat the top and the sides of the cake with whipped topping. I find it’s easiest to do this with an offset spatula, but any spatula will work. Add sprinkles to the sides of the cake if desired. (I sort of threw them at it, and then swept up any that wound up on the floor!) Freeze for at least an hour or until ready to serve.
- Let the cake sit at room temperature for about 10 minutes before slicing and serving.
Equipment
Video
Notes
- To freeze leftovers, slice and place on paper plates. Cover with plastic wrap and freeze for up to 1 month.
- Use any flavors you prefer. Know that if you use layers that have a slightly different consistency, such as the sherbet and vanilla ice cream shown here, one layer may be softer than the other. (It’s fine, though one layer may be easier than the other to slice through.)
- Use smaller or larger cake pans if desired.
- Use an offset spatula to frost the cake, or a regular butter knife or spatula.
- You should have plenty of time to assemble and frost the cake before it starts to melt, so don’t stress. (But also don’t do that step if you have a lot of other things going on since you will want to get it back into the freezer!) It may melt a little faster if it’s very humid or very hot in your kitchen.
- Freeze the cake in a deep freezer if you have the option as it will be a little firmer. (It works fine in a regular freezer too, just wanted to mention that in case it helps!)
- If you want to make this with lower sugar, look for options in the ice cream section of your store. Or you could try it with my Strawberry Frozen Yogurt. (You’d likely want to double the recipe to make enough for two layers.)
- I use whipped topping in this recipe, which is Cool Whip or a store brand equivalent. It is often sold in the freezer, so you’ll want to thaw it. I put it in the fridge when I get home from the store so it’s ready.
Nutrition
This post was originally published in May 2020.


Can you color the whipped topping? My daughter wants a pink cake 🙂
Of course!
Hi there,
Do you know what could be used instead of cool whip? I live in New Zealand so not sure what can be used instead as I don’t even know what it is haha
You want a stable, easy to spread whipped topping if your store has anything like that. It’s sold in the freezer in the US most of the time.
I have dietary restrictions so I make my own whipped cream. I use heavy cream or heavy whipping cream, and powdered or granulated sugar. 2oz of sugar for every 8oz of cream.
Whip with stand or hand mixer until stiff peaks form. Note that when whipped, cream will dubble in volume.
8oz cream = 16oz whipped cream.
I’d love to do this as a three-layer, 9-inch cake. Do you think it would still hold up structurally?
I think so!
Hi
Do you cover it with cling wrap after you have put frosting on please?
Could you freeze it in one think layer?
Do you have to add frosting?
Sorry about all the questions
Hi ! I am looking forward to making this for my granddaughters 5th birthday. Just a quick question : You mentioned that your pans are 4” deep and hold half a gallon of ice cream. The pans you have linked are only 2” deep …. Will that be big enough? Thank you for your help!
Darlene
Hi Amy, after you scoop the ice cream into the lined pan, how do you flatten and compact it to prevent gaps between the scoop lumps? The recipe looks so easy to follow. Thank you!
Hi- Just press it down with the ice cream scoop or a metal spoon. Enjoy!
I love this recipe. I have made it a few times and have really enjoyed the simple yet delicious cake for birthdays. Thank you for breaking down gje basics of the ice cream cake.
Hi Amy! I LOVE the way you describe how to make this lovely ice cream cake and showed photos of each step! You created an AWESOME recipe! I’m in the middle of step 3. So far so good.. very easy to follow. We live in San Diego, and it’s super warm this time of the year. Our daughter requested ice cream cake for her birthday celebration! Just wanted to take a moment to thank you! Jessica
Yay! I hope it turns out well for you and that she has a super awesome birthday!!
I want to try this for my almost 6-year-old bday next week. But I’d like to do a layer of chocolate cake at the bottom and cookies and cream ice cream as the top layer. Do you have a recipe you would recommend for the cake part?
I have a chocolate cake recipe that will be up Sept 9. I can email you a pdf of it if you’d need it before then, just let me know.
Oh yes please! That would be wonderful. Since I don’t go to the store too often it would help me plan the ingredients I need. I think you gave my email from replying here?
We used this recipe to make a watermelon themed ice cream cake for my daughter’s second birthday! We did two layers of raspberry sorbet and a layer of strawberry ice cream and colored our whipped cream frosting green to look like a watermelon. We put mini chocolate chips in the middle so it looked a little like watermelon seeds. Sadly the ice cream layer was melting so rapidly we ended up nixing it entirely and just using the sorbet layers – which was delicious so it was fine. I guess living in Houston it was just too hot and humid in our kitchen for the ice cream! It was a big hit with our kids and family!
Wow, I bet that was so cute! Sorry about the melting though!