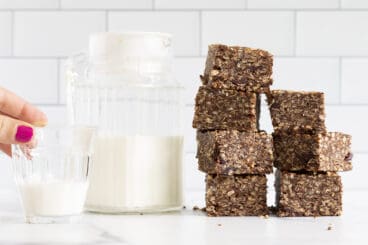
Homemade Granola Bars are one of my go-to healthy snacks for kids. They’re super easy to make, require minimal added sweeteners, have a texture that even babies and younger toddlers can chew, and store SO well.
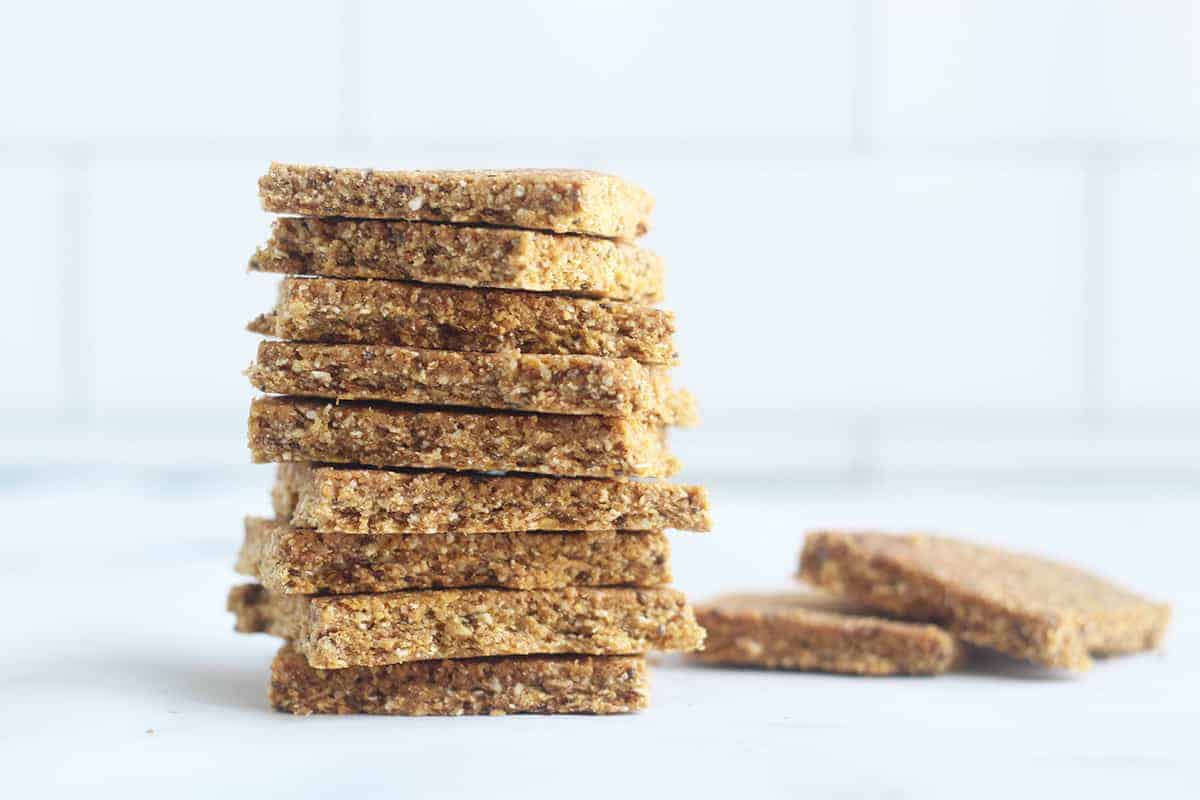
These bars are seriously delicious—and versatile. They’re a great way to save money on groceries (since a batch is much less than buying a similar amount of store-bought bars) and you can vary the flavors by adding fruit or veggie puree.
Plus, they’re loaded with nutritious ingredients and minimal sweeteners, so they’re a satisfying healthy snack for kids. The texture is a nice balance of crisp edges, but a softer texture.
And the flavor is so, so good!
(You may also like my Homemade Granola, Granola Bites, Crunchy Granola Bars, Chocolate Chip Granola Bars, and Chocolate Chip Cookie Cake.)
Table of Contents
Your toddler won’t eat? Help is here!
Sign up for our email updates to get tips and ideas sent your way!
Ingredients You Need
Here’s what you’ll need to make this homemade granola bar recipe so you know what to have on hand and ready to go.
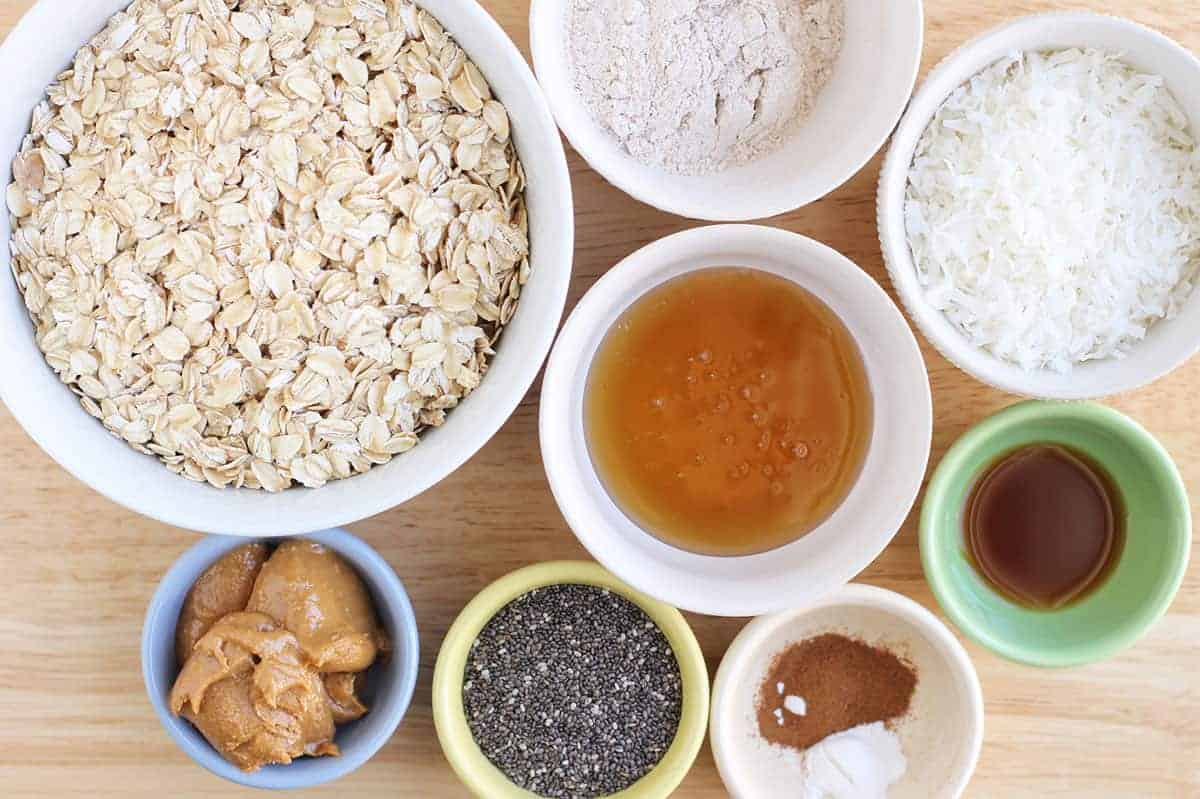
- Rolled oats: These are sometimes called “old-fashioned” oats.
- Shredded unsweetened coconut: To make these without coconut, omit and use additional oats.
- Flour: I use whole-wheat flour in this recipe. You can use you can use gluten-free flour if needed.
- Chia seeds: To make these without chia seeds, omit and increase the nut butter to ¼ cup.
- Honey: This helps hold the bars together. Only use for kids over 1.
- Nut or seed butter: You can use peanut butter, almond butter, or Sunflower seed butter.
Step-by-Step Instructions
Here’s a look at the easy process involved in making this homemade granola bar recipe. Scroll down to the bottom of this post for the full recipe, including the amounts and timing.

Step 1. Add ingredients to a food processor, choosing your flavor. Grind until the mixture starts to hold together.

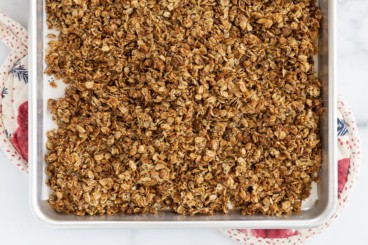
Step 2. Pour the batter onto a parchment-lined baking sheet and press flat.

Step 3. Score the batter with a knife, which makes them easy to break into pieces once they’re baked.

Step 4. Bake, let cool, and enjoy.
TIP: In Step 1, you’ll see the batter start to pull together and you can also check it by squeezing a bit between your fingers—it should be sticky enough to hold together when you squeeze it. Add a little more water or puree if it’s not quite sticky enough.
Frequently Asked Questions
Sure! See the variation at the bottom that calls for omitting them and slightly increasing the nut butter. This keeps a good amount of healthy fats to ensure that the bars hold together and that the kids get a nicely balanced snack.
These bars are naturally egg-free and dairy-free. They’re also easy to make gluten-free by choosing gluten-free oats and a gluten-free flour blend.
Yes, this granola bar recipe freezes really well. Simply let them cool and place into a zip top freezer bag. Freeze for up to 3 months. Thaw in the fridge or at room temperature, or directly in a lunchbox.
How to Store
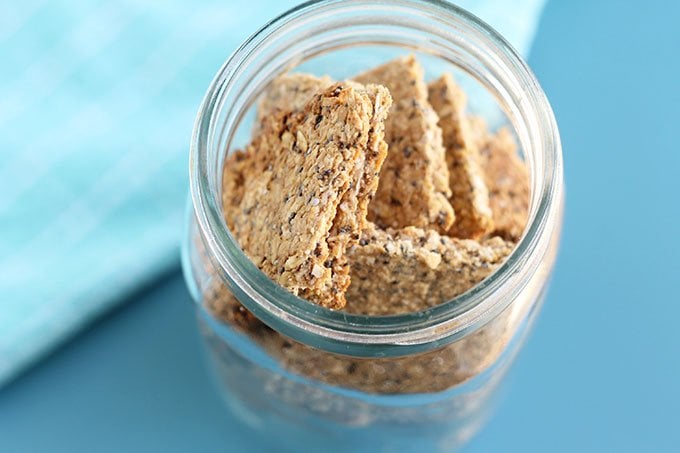
I store our homemade granola bars in the fridge (because I like them cold) in an airtight container and serve them up until we run out.
- In the fridge in an airtight container, they’ll stay fresh for about two weeks.
- At room temperature in an airtight container, they’ll last about 1 week.
- In the freezer, you can place cooled bars in a sealed zip top freezer bag for up to 3 months. Thaw overnight in the fridge before serving.
Best Tips for Success
- For kids under one, you can substitute brown rice syrup for the honey. You can also try using applesauce.
- You can make them in the basic flavor, or banana, apple, sweet potato, butternut squash, or pumpkin.
- To make these without coconut, omit and use additional oats.
- To make these without chia seeds, omit and increase the nut butter to ¼ cup.
- To make this without a food processor, use quick or instant oats and stir everything together. (Or grind the oats and coconut in a blender, then stir the ingredients together in a bowl)
- Add chocolate chips to this recipe by pressing a few into the top of the rolled out batter just before baking.
Related Recipes
I’d love to hear your feedback if you try this recipe so please comment below to share!
Easy Homemade Granola Bars
Ingredients
- 1½ cups rolled oats
- ½ cup shredded unsweetened coconut (or use ½ cup additional oats)
- ¼ cup honey (or maple syrup or applesauce)
- ¼ cup whole-wheat flour
- 3 tablespoons peanut butter (or sunflower seed butter or 1 egg)
- 1 teaspoon vanilla extract
- ½ teaspoon cinnamon
- ⅛ teaspoon baking powder
- ⅛ teaspoon salt
- 2 tablespoons chia seeds
- ¼ cup water (or ¼ cup mashed ripe banana, pumpkin puree, applesauce, butternut squash puree, OR sweet potato puree)
Instructions
- Preheat the oven to 325 degrees F and line a baking sheet with parchment paper or a Silpat. Warm the honey and peanut butter for about 15 seconds if not stored at room temperature.
- Place the oats and coconut into the bowl of a food processor and blitz to grind into a coarse texture (similar to quick oats).
- Add the remaining ingredients, including the peanut butter and honey, and blend well.
- (You can also grind the oats or use instant oats, then mix everything together in a bowl.)
- Add ¼ cup water and blend until batter comes together like thick cookie dough. You should be able to press the batter together between your fingers and have it stick together. If it doesn't, add a bit more water.
- Place batter onto the center of the prepared baking sheet and use your hands to press thin, about ¼-½-inch thick and about 8×8-inches big. I measure roughly using an 8×8-inch baking pan. (You can also roll out the dough—just cover it with a piece of parchment paper first to make sure it's easy to do.) Use a knife to lightly score lines for squares in whatever size you like.
- Bake for 18-20 minutes, remove from oven, and let cool completely on the pan.
- Break into squares and serve.
- Store in an airtight container for up to 2 weeks in the fridge or a week at room temperature. To freeze, place cooled bars in a sealed zip top freezer bag for up to 3 months. Thaw overnight in the fridge before serving.
Notes
- To make these with fruit or a veggie flavor, omit the water in Step 4. Choose one flavor from below. Proceed with the recipe as directed, though know you may need to bake up to an additional 10 minutes. Look for the edges to start turning golden brown. It just seems to take a little longer when you add a puree.
- Banana: Add ¼ cup mashed recipe banana or banana puree.
- Pumpkin: Add ¼ cup pumpkin puree.
- Apple: Add ¼ cup applesauce or Apple Puree.
- Butternut: Add ¼ cup butternut squash puree.
- Sweet Potato: Add ¼ cup sweet potato puree.
- To make these without coconut, omit and use additional oats.
- To make these without chia seeds, omit and increase the nut butter to ¼ cup. Or use ground flaxseeds.
- To make this without a food processor, use quick or instant oats and stir everything together. (Or grind the oats and coconut in a blender, then stir the ingredients together in a bowl)
- Gluten-free: Use gluten-free cup for cup flour in place of the whole-wheat.
- Add chocolate chips to this recipe by pressing a few into the top of the rolled out batter just before baking.
- Use room temperature honey and nut or seed butter to make the batter come together easily, or warm them briefly.
- Wet your fingers or use a piece of parchment to press the batter down if it’s sticking to your hands.
Nutrition
This post was first published June 2017.






Wonderful low in sugar I use blue agave syrup it’s supposed to be better for you love this got in from a daughter in law for our granddaughter! Great thanks!
Hi, can i use nuts with unsalted butter. Instead of nut butter/peanut butter. Pls advise.
I haven’t tried it but I think using melted butter instead of the peanut butter would work. Are you wanting to add chopped nuts?
I loved this recipe! Ive been trying lots of bars for my toddler but most of them are banana based (I mean kid-friendly ones), which leaves a soggy consistency and … always simply taste like banana! :S I am sure this will be a staple here now. Thank you so much!
I’m so glad to hear this!
Love the look of these granola bars! I also try and make some for myself but I hadn’t thought about what a great snack they’d make for kids too. Busy parents can make these with the kids on a Sunday and then snacks are sorted for the week.
We love this recipe SO much! My 1.5 year old wants these every time he goes to the pantry. I’d love to see this with some fruit in it!
I have made several healthy granola bar recipes, and this one is the easiest to come together, with the best taste and texture. Make a double batch. You’ll be glad you did.
Can i use normal unsalted butter instead of peanut butter?
I haven’t tried it with regular butter so I can’t say for sure!
This is my go-to recipe for soft baked bars for my toddler. She loves them and I do too! They are much more cost-effective and healthier than pre-packaged bars. I’ve made them already several times !
I’m so glad to hear all of this!
This granola bar recipe is perfect! I made them for my 1 year old daughter as a snack because I was finding it difficult to find her snacky things. She loves them. I used quick oats and stirred by hand. I did make them a little thinner by using a rolling pin and a jelly roll pan. (They didn’t fill the pan) I will continue to make these and share this recipe with my mom-friends who are looking for healthy snack ideas!
I’m so glad to hear that and thanks for sharing the recipe!
Made these tonight for my 21 month old. I really like the list of simple ingredients. They were easy to make. I tried a small bite…it was delicious. I was going to save them all for him, but I’m going to have one now!
I’m so glad to hear this Lauren!
What is the sub for honey? Maple syrup? Thanks and I’m looking forward to making this soon! ?
You can use maple syrup!
Can I use almond flour instead?
Hi! I haven’t tried that and I can’t say for sure if they would hold together the same way. I’d love to know if you try it that way!
did you try with almond flour? if so, how did it come out?
Hi does 1 tsp Vanilla means vanilla extract?
yes!
Thank you! My toddler loves this recipe! I’m back to make it a second time.
Awesome, I’m so glad to hear that!
I have checked your page and i have found some duplicate content, that’s why you
don’t rank high in google, but there is a tool that can help you to create 100% unique articles, search for: boorfe’s
tips unlimited content