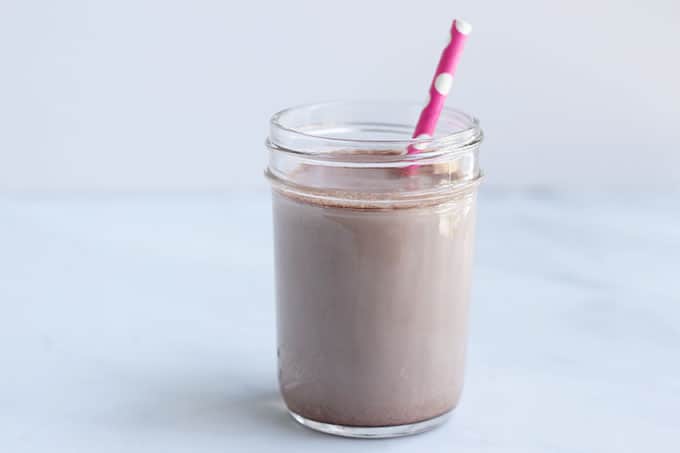
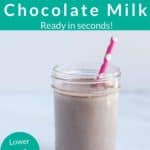
Combine 4 simple ingredients to make lower-sugar Homemade Chocolate Milk that’s creamy and so super delicious. Plus: You don’t need any fancy tools to make it!
There’s something so satisfying about a glass of chocolate milk, and while I admit that I totally balked at the idea of giving kids flavored milk when I was a new mom, I’ve since come to realize a few things. Like the fact that some kids like more flavor and dislike plain milk.
And while kids don’t necessarily need to drink milk, it’s a nice option to have since it’s rich in protein, calcium, and Vitamin D. Also, once kids go to school, they will very likely have the option to choose chocolate milk, so I prefer to continue to normalize it (instead of fully restricting it, which can make it more appealing).
I don’t make this type of flavored milk often, but I do it sometimes because my middle kiddo adores it and it’s a fun snack.
We are using basic pantry staples here, so no chocolate syrup required.
(You may also like my recipes for Chocolate Cupcakes, Chocolate Avocado Pudding, Chocolate Yogurt Gummies, Valentine’s Day Breakfasts and Valentine’s Day Snacks.)
Your toddler won’t eat? Help is here!
Sign up for our email updates to get tips and ideas sent your way!
Ingredients You Need
To make this flavored milk you’ll need the following ingredients.
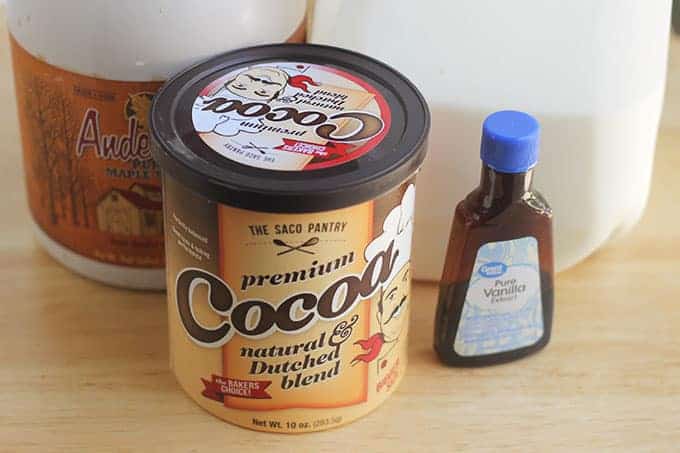
- Milk: You can really use any type you prefer. I usually use whole milk or unsweetened plain nondairy milk such as soy milk, almond milk, or any other plant milk.
- Unsweetened cocoa powder: Brands such as Hershey’s Special Dark, SACO, or Trader Joe’s store brand have nice flavor.
- Pure vanilla extract: This adds another flavor element for deliciousness.
- Maple syrup: Maple syrup blends in easily with the rest of the ingredients. You can also use honey for kids over age 1. Feel free to adjust the sweetness as you like.
Ingredient Substitutions
- Dairy-free: Use a favorite nondairy milk.
- You can use cacao powder if you prefer.
- Use alcohol-free vanilla if desired.
- Trade in honey for the maple syrup.
Step-by-Step Instructions
This recipe is so super quick and easy. Here’s the basic method. Scroll down to the recipe to find the full information.
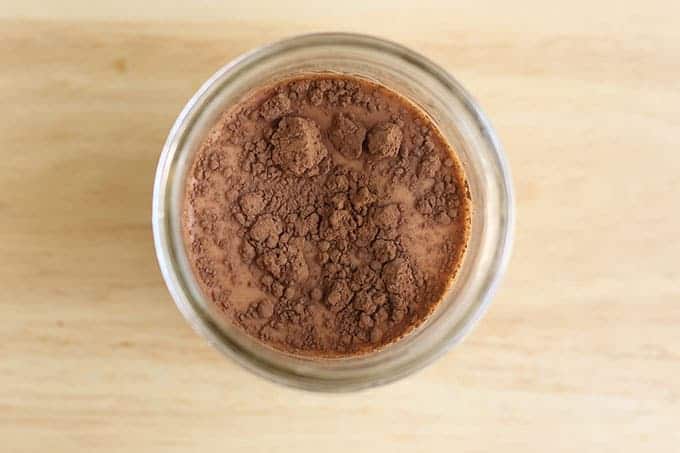
- Place the ingredients into a mason jar.
- Shake well to incorporate the ingredients and remove any lumps from the cocoa powder.
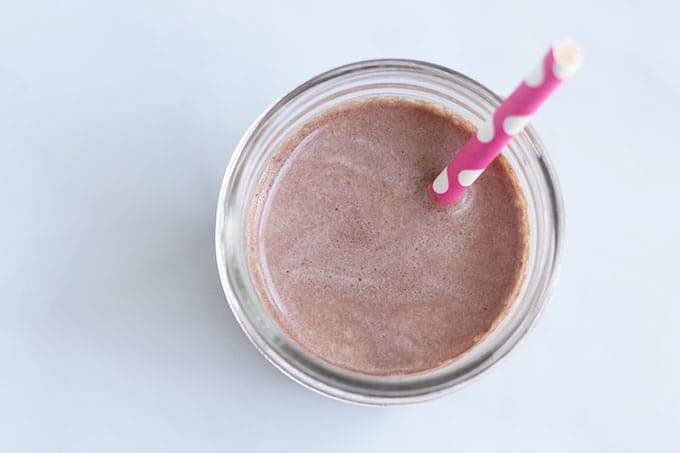
- Serve. If there are little undissolved bits of cocoa powder, you can strain it through a little fine-mesh strainer.
Sure! Just put a lid on the jar and store it in the fridge for up to 24 hours. Shake or stir it right before serving since some of the cocoa powder will sink to the bottom of the milk.
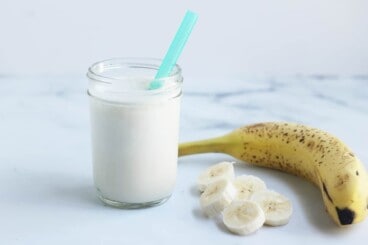
You can add the ingredients to a blender with a ripe banana to make a really yummy chocolate banana milk.
This chocolate milk recipe has calcium, protein, and vitamin D and has less sugar than store-bought. It’s a great option for a drink or snack.
How to Store
You can store in an airtight container for up to 24 hours in the fridge. Shake or stir before serving if the mixture has separated at all.
Best Tips for Success
- Use honey or agave syrup instead of maple syrup.
- You can try using less sweetener. I find that this amount works best to balance the cocoa powder, but you may feel differently, so taste and adjust.
- You can also make this in a blender if you prefer.
- Make more or less according to your preference.
- Find more on the Best Milk for Toddlers for help choosing a type.
- Try my other Flavored Milks, too.
Related Recipes
Snacks
Best Banana Milk
Snacks
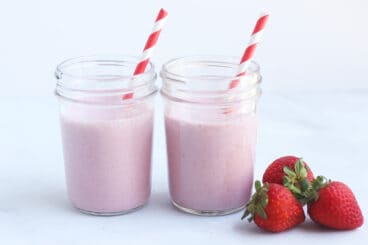
Favorite Strawberry Milk
Snacks
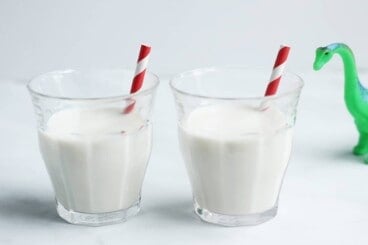
Best Vanilla Milk
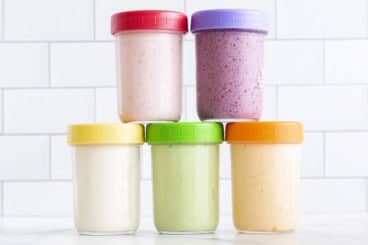
Smoothie Recipes
Favorite Yogurt Drinks
I’d love to hear your feedback if you try this recipe, so please rate and comment below.

Best Homemade Chocolate Milk
Ingredients
- 1 cup milk (whole milk dairy or plain unsweetened nondairy)
- 2 teaspoons maple syrup
- 1 teaspoon cocoa powder
- 1/4 teaspoon pure vanilla extract
Instructions
- Add all ingredients to a pint-size mason jar. Tighten the lid and shake vigorously for about 30 seconds.
- Let sit for a few seconds so the bubbles disperse. Serve. If there seem to be small bits of undissolved cocoa powder, you can pour it through a fine-mesh strainer (the small kind meant for tea works well if you have one).
Notes
- You can store in an airtight container for up to 24 hours in the fridge. Shake or stir before serving.
- Use honey or agave instead of maple syrup.
- You can try using less sweetener. I find that this amount works best to balance the cocoa powder, but you may feel differently, so taste and adjust.
- You can also make this in a blender if you prefer.
- Make more or less according to your preference.
Nutrition
This post was first published August 2020.


This is our go-to chocolate milk recipe for a few years now! My kids (and I) love it.
So glad i found this recipe, it tastes just like chocolate milk from the store….but better!! Sometimes i even add a dash more cocoa powder if i want it more chocolatey.
It really just tastes like good chocolate milk. I like to make a smooth paste with the chocolate and maple syrup before adding the milk. This avoids lumps and difficulty mixing the cocoa powder in. No heat needed.
I thought for sure this would taste like chocolate and maple. But it doesn’t. Just taste like a good chocolate milk. I even added an extra teaspoon of maple for a little bit more sweet. Very good!