Here’s what you need to know about baby food stages—including Stage 1, Stage 2, and Stage 3. And the typical ages and recommended recipes that correspond to each.

Labeling food for baby with stages—which you may see in the baby food aisle at the grocery store and online in homemade baby food recipes—can help parents offer foods in a specific order of textures.
In the traditional method of starting solids through baby food stages, we progress from thinner and very smooth baby food purees to thicker and with more texture.
This allows baby to learn gradually and progress from very thin purees when first introducing solids to more traditional finger foods (or soft table foods) by the time they reach their first birthday.
Understanding the basics of this can help offer baby a chance to practice textures as they learn to eat.
TIP: Learn more about how to know if baby is ready to start solids and my go-to store-bought baby food options.
Table of Contents
Summarize and save this content:
Your toddler won’t eat? Help is here!
Sign up for our email updates to get tips and ideas sent your way!
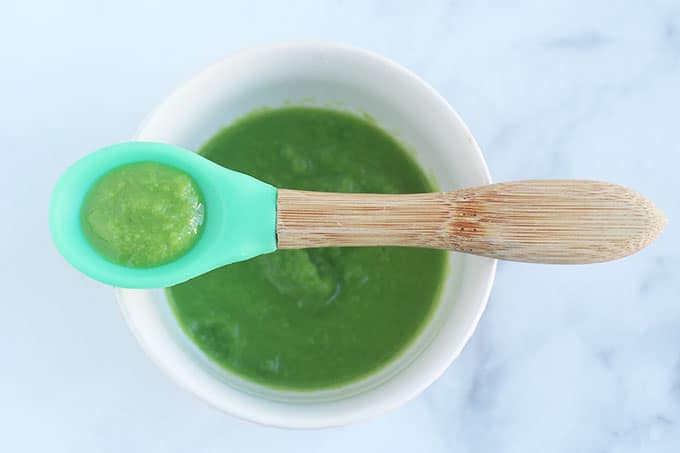
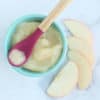
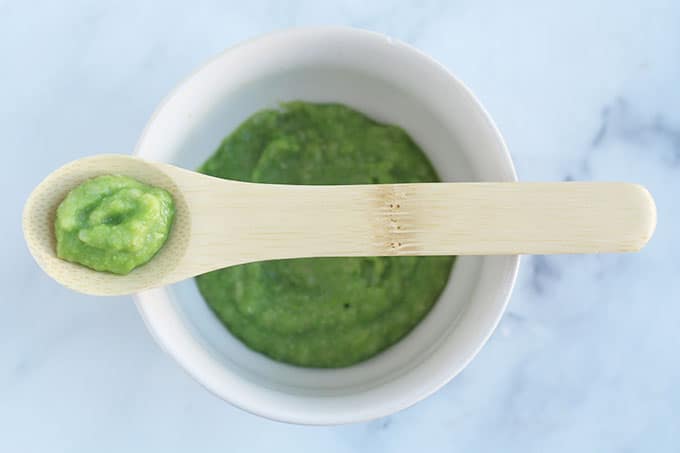
Stage 1 Baby Food
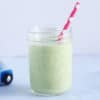
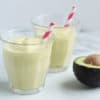
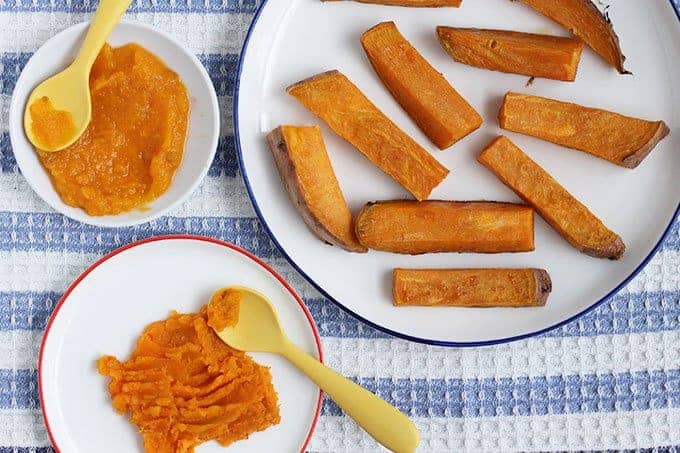
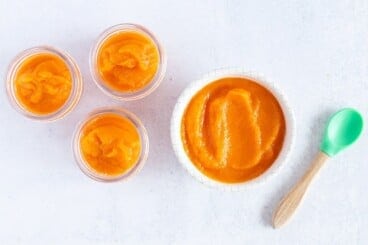
This includes very thin, smooth homemade baby food that are most often made with just one main single ingredient—of any food group such as fruits, vegetable, meat, dairy, whole grain, or other type of food.
You can thin stage one baby foods further with additional water, breast milk, or formula, and they’re sometimes described as “drippy”. Think: Very thin pureed soup.
Baby may push some of the food out of her mouth as she learns how to swallow, she may want to hold the spoon herself, or she may not be interested at all. All of these are normal parts of the learning process, so continue following baby’s lead.
Age: 6+ months (ish) and up (though some pediatricians still recommend starting at 4 months).
TIP: Baby usually tries one food a day at the start to give her system a chance to slowly adjust to solids. (Expect diapers to change, too!)
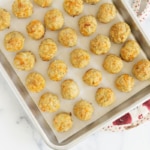
Stage 1 Recipes to Try
These are a few of my favorite early purees to offer. You can make them right before you plan to serve them or ahead of time. Store the baby food in the fridge or freezer for future meals. And make sure baby is safely sitting upright in the toddler high chair.


TIP: Find tips on how baby food storage, too.
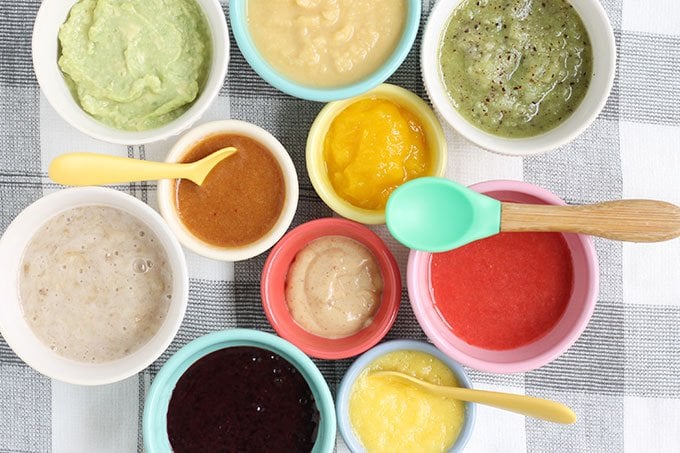
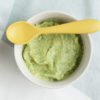
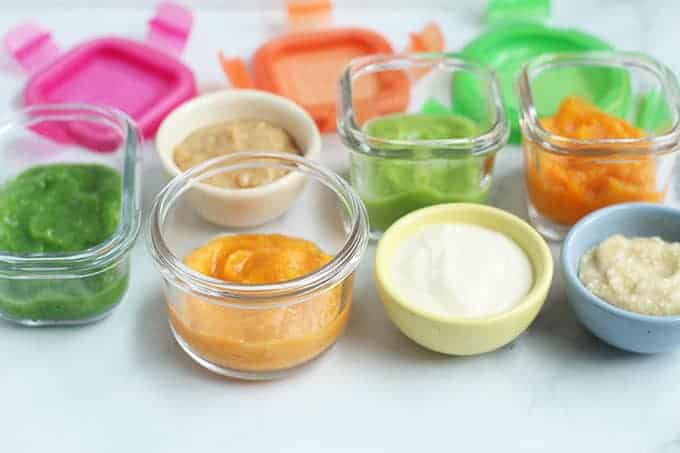
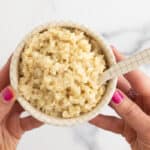
Stage 2 Baby Food
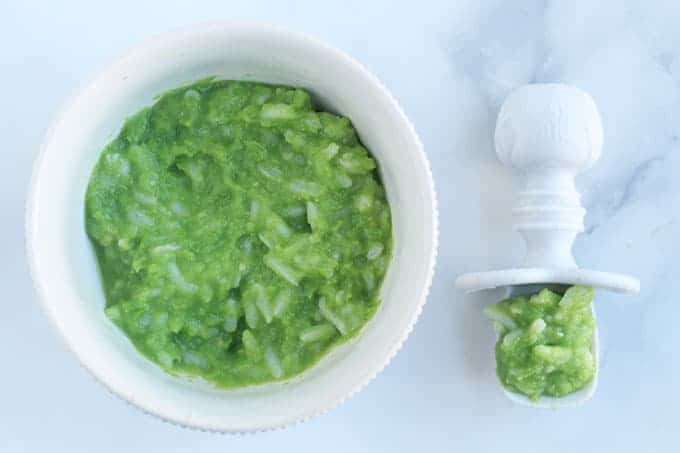
This stage includes slightly thicker purees with more texture and may include more than one ingredient. Foods like yogurt, grains, hemp seeds, and more can be in this category. And this is a great time to be sure you’re including a lot of flavors.
You can mix savory foods together or do a sweet and savory blend.
The goal in this phase is to give baby the chance to explore slightly more complex textures and get to taste a lot more flavors.
Age: 7-8+ months (ish) and up
You can also offer these purees occasionally in a baby food pouch on occasion, by holding it up to baby’s mouth and allowing him to suck it.
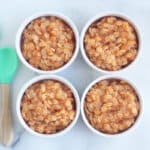
Stage 2 Recipes to Try
Below you’ll find some of my go-to recipes for this stage. You can also simply add Baby Rice Cereal, Baby Oatmeal, or hemp seeds to a baby food puree for a quick and easy way to add texture.


TIP: Check out my Best Baby Food Combinations too!
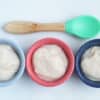
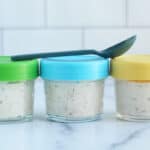
Stage 3 Baby Food
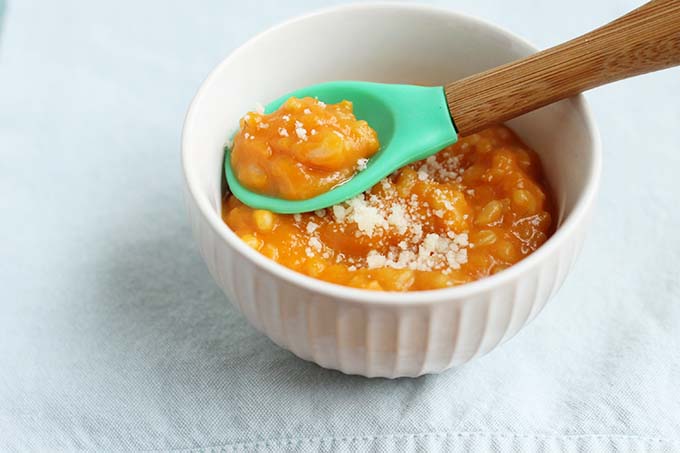
This includes thicker mashed foods with even more texture and usually includes multiple ingredients. There will be bits of food for baby to chew and may include some foods that baby can pick up with her fingers like soft avocado or slightly mashed raspberries.
Stage 3 baby food is an easy time to start using more of the food you’re making for the rest of the family (if you haven’t already) and simply prepare it into a chunky mash.
Age: 9 (ish) months and up
TIP: Some babies may be very hungry at this stage, so hearty purees can be a great way to satisfy their hunger. I made a lot of grains and pasta in simple pureed sauces for my oldest at this age!
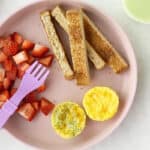
Stage 3 Recipes to try
These are great recipes for this stage that can also be shared by the rest of the family. Aim for foods that are soft and easy to squish between your fingers. Dice up foods like meatballs into about the size of two peas so they are easy for baby to pick up and eat.


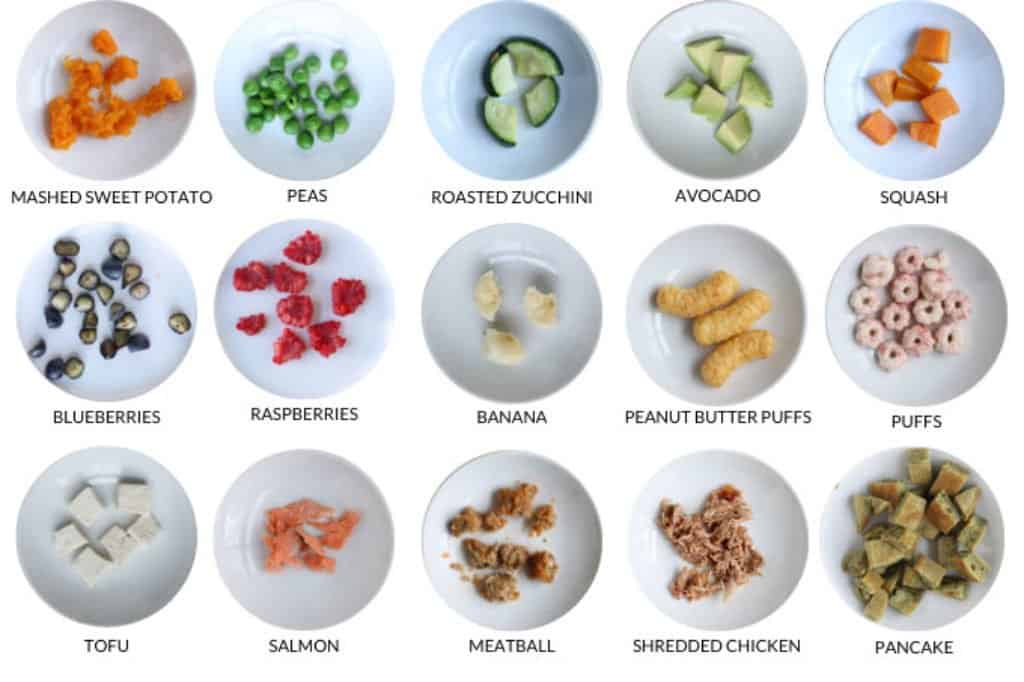
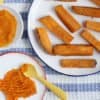
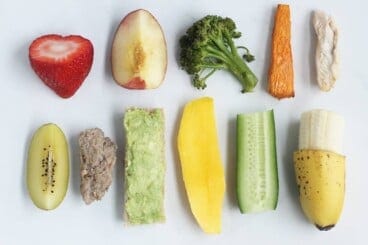
Finger Foods for Baby
This category of baby food includes small, pea-size foods that are soft (easily squishable between two fingers) and are easy for baby to pick up with their fingers once they master their “pincer grasp.”
You can see a full list of the Best Early Finger Foods for Babies for ages 9-10 months (ish) and up.
Frequently Asked Questions
You can simply mash it a little with a fork or your fingers. Many foods that you already make for your family work for older babies. You can salt your own portion after you offer baby theirs, too.
Gagging, while alarming, is often a learning process for the baby as they master more and more complex textures. Let them have a chance to try to move the food in their mouths, you can offer water when they swallow or spit the food out, and if needed, you can use your finger to quickly sweep the food out of their mouth. Remember: Food for babies should be soft and easy to gum and mash in order to be safe.
If you are using a traditional method of starting solids, you can use these to progress through baby food textures safely. (Parents using baby-led weaning foods go a different route.)
Best Tips for Success
- Always follow the lead of your unique baby. Some may be more interested in food than others (or on some days than others). There is a lot of variation within these categories.
- Stop meals when baby turns his head, pushes away the spoon, starts to fuss, or gives any other signals that he is not interested in more food. There is no reason to force “one more bite.”
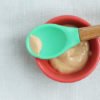
- Offer baby preloaded spoons of purees—put a little puree on the spoon and hand it over—if she seems interested in being more in charge of what goes into her mouth.
- Try to include iron-rich foods for kids in baby’s diet from the start of solids, as well as potential food allergens (unless there’s a known allergy or history of severe eczema—check with your pediatrician in that case).
- Baby bibs can be helpful for keeping baby’s clothes clean if meals are messy.
- Avoid common choking hazards including hard raw vegetables and fruits, round foods like whole grapes, popcorn, chewing gum, gummy candy, and more foods found in this guide on how to prevent toddler choking.
- Avoid honey until baby is over age 1 to avoid the risk of botulism.
- Use a blender, baby food maker, fork, or food processor to puree or mash food as needed.
- Always talk to your pediatrician when starting solids and for medical advice.
- Try my first birthday party ideas to celebrate the end of this stage, too!
Related Recipes

Baby Food
Master List of Baby Food Recipes
Baby Food
Favorite Carrot Baby Food
Baby Food
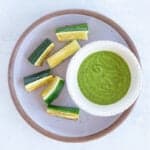
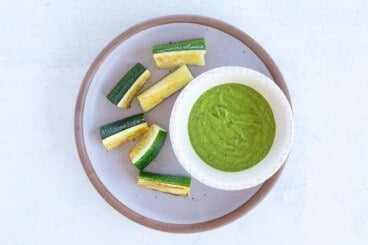
Favorite Zucchini Baby Food
I’d love to hear your feedback on this post, so please comment below!
This post was first published January 2021.


Hi! Love your baby recipe ideas as I am just getting used to making foods for my baby and have no idea what I’m doing. My daughter just turned 7 months. I have a question: I gave her a couple of foods that had some texture/graininess, not totally smooth (pureed apple that had some teeny tiny bits of apple, peas where the skin was also pureed so it wasn’t completely smooth). She worked them around in her mouth but ended up gagging and vomiting out an entire previous bottle. I think the issue is the texture. She is great about mouthing every non-food item in the world (haha) and is good with smooth purees. I guess my question is – at what age should she be able to be handle this little bit of texture? It is making me very shy about introducing any kind of textures for fear she will throw up.
Hi- Was this one instance or has it happened each time you’ve offered a food like this? Have you done super smooth foods without this happening?There are a few different ways to introduce solids and each baby is unique with how it will go, but generally speaking you could try a smaller amount on the spoon and see if that helps. You could spread some of the puree onto a finger size piece of toast and let her suck it off (that would slow the puree down in her mouth and help her feel more in control). Some gagging is usually very normal but obviously we don’t want it to lead to vomiting.