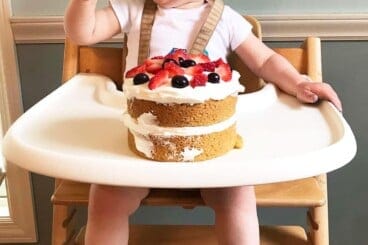
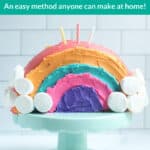
Learn how to make a fun Rainbow Cake that actually looks like a rainbow with this doable method anyone can do—even novice bakers! This method is a super fun way to make a kids birthday cake to delight the kids…especially the rainbow-lovers.
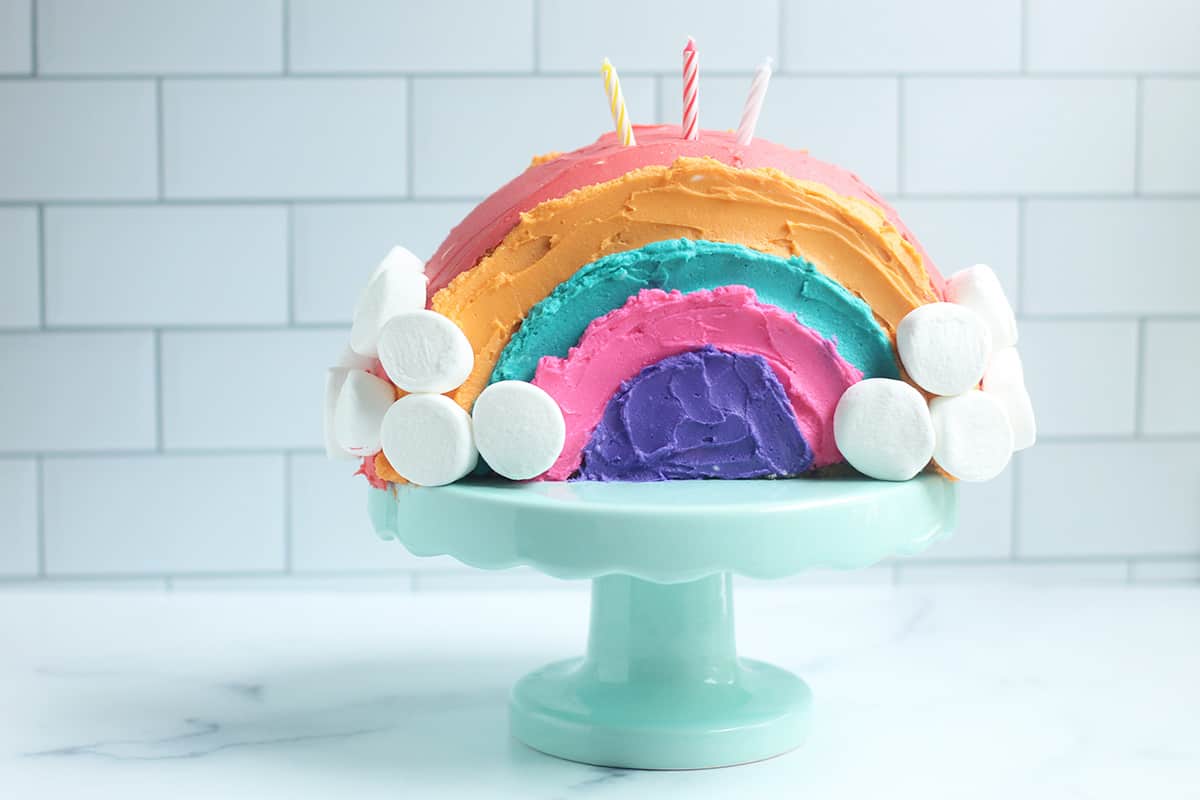
My middle kiddo has loved rainbows for as long as I can remember, and for her fifth birthday, requested a Rainbow Cake. And after looking online and finding a lot of cakes with rainbow layers, but none that actually looked like a rainbow—which is what she wanted—we came up with this easy method.
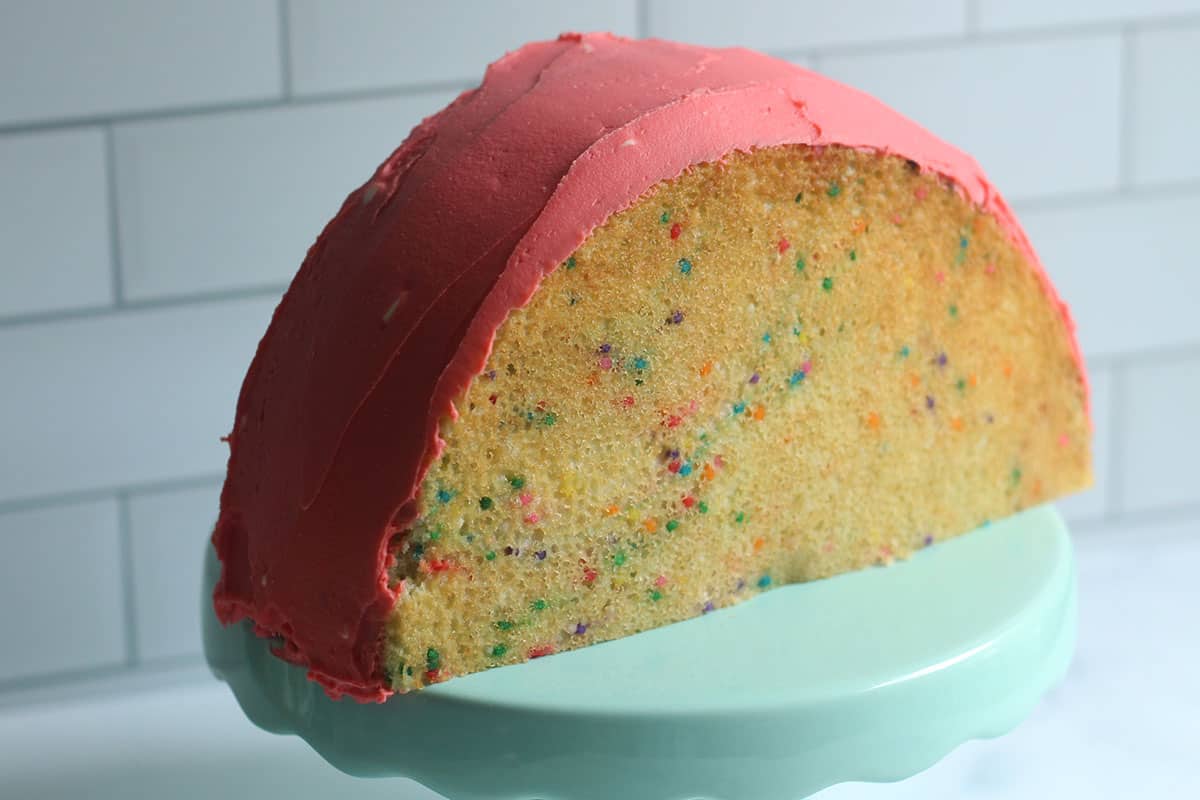
To make this cake, you simply bake a round cake, and cut it in half. Then you use frosting to sandwich the halves to make your rainbow cake. Best of all? The cake is so fun that it doesn’t even matter if the rainbow colors look perfect…or anything but!
This is (for sure) one of my most elaborate recipes, and yet it is actually still so easy to execute. There are a bunch of steps, but nothing is hard and the pay off at the end is so worth it!
(You may also like homemade Ice Cream Cake, Graham Cracker Icebox Cake, Football Cake, and all of my kids birthday cake recipes.)
Table of Contents
Your toddler won’t eat? Help is here!
Sign up for our email updates to get tips and ideas sent your way!
Ingredients You Need
To make this Rainbow Cake (and the frosting) you’ll need to have the following ingredients on hand and ready to go.
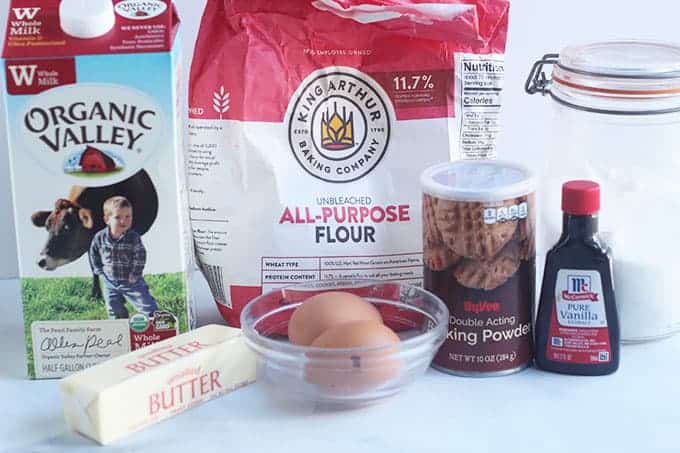
- Unsalted butter: This allows us to add just a little salt to round out the flavors. You’ll want it to be softened at room temperature so it blends in easily.
- Sugar: I use granulated sugar in this cake recipe for sweetness and the best texture.
- Eggs: I use large eggs in my baking, so that’s what is best here so the volume of the wet ingredients to dry ingredients is correct.
- Vanilla extract: You can use pure or artificial vanilla extract according to your personal preference and budget.
- Whole milk: Have this at room temperature if possible so it doesn’t make the softened butter harden.
- All-purpose flour: This flour helps the cake stay light and fluffy, so it’s the best option here. (You can also use a gluten-free all-purpose flour.)
- Baking powder: Active baking powder ensures the cake rises properly and bakes through as intended.
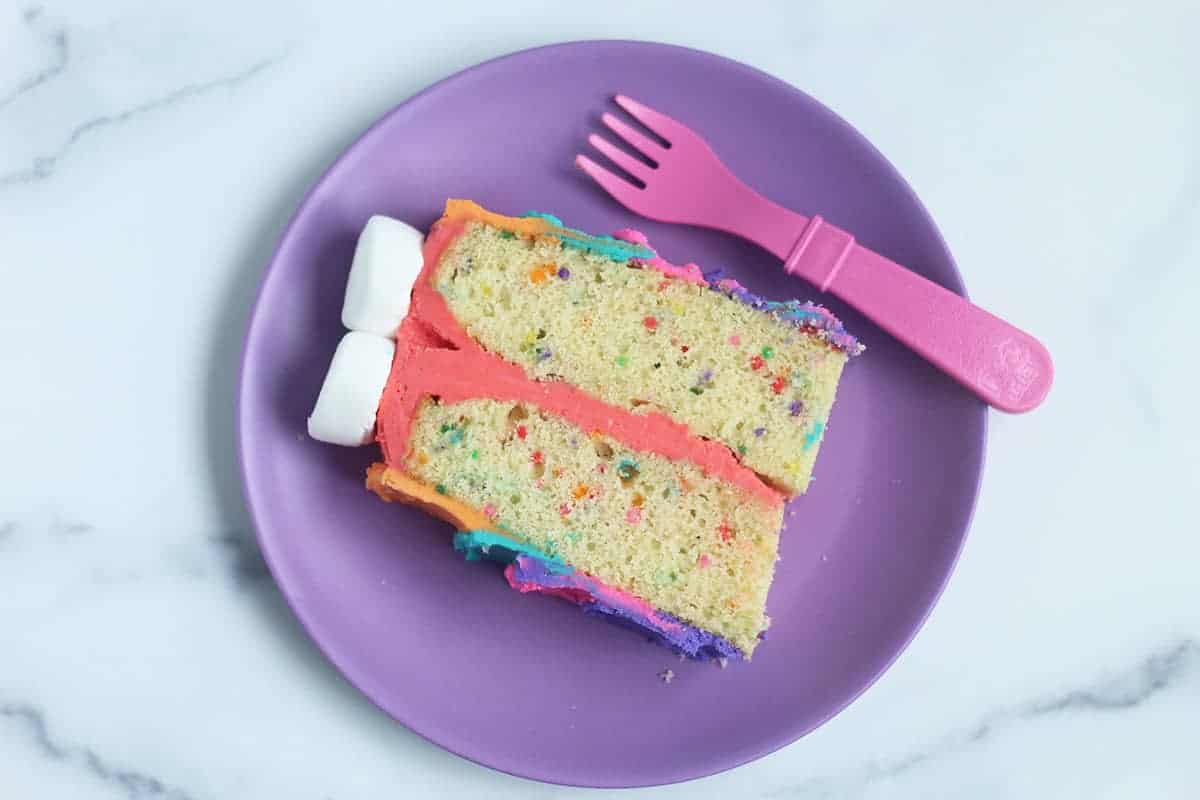
- Sprinkles: I like to add nonpareil-style sprinkles to the cake to make it have pops of color!
TIP: Then for the frosting and decorating, you’ll need cream cheese, powdered sugar, food coloring, and marshmallows.
Step-by-Step Instructions
Here’s a look at what you’ll need to do to make this Rainbow Cake so you know what to expect from the general process. Go to the full recipe at the end of the post for the specifics, including the amounts and timing.
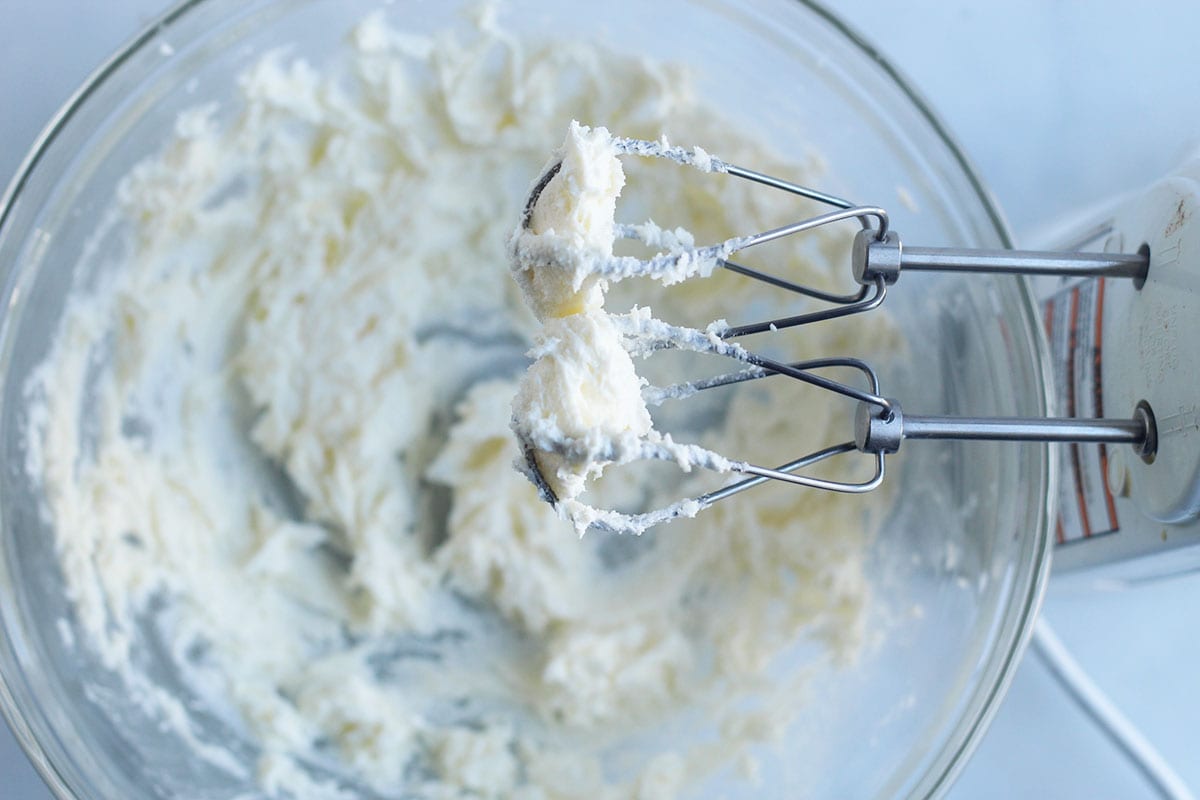
Step 1. Beat the butter and sugar with a hand-held electric mixer. Add in the eggs and beat to combine.
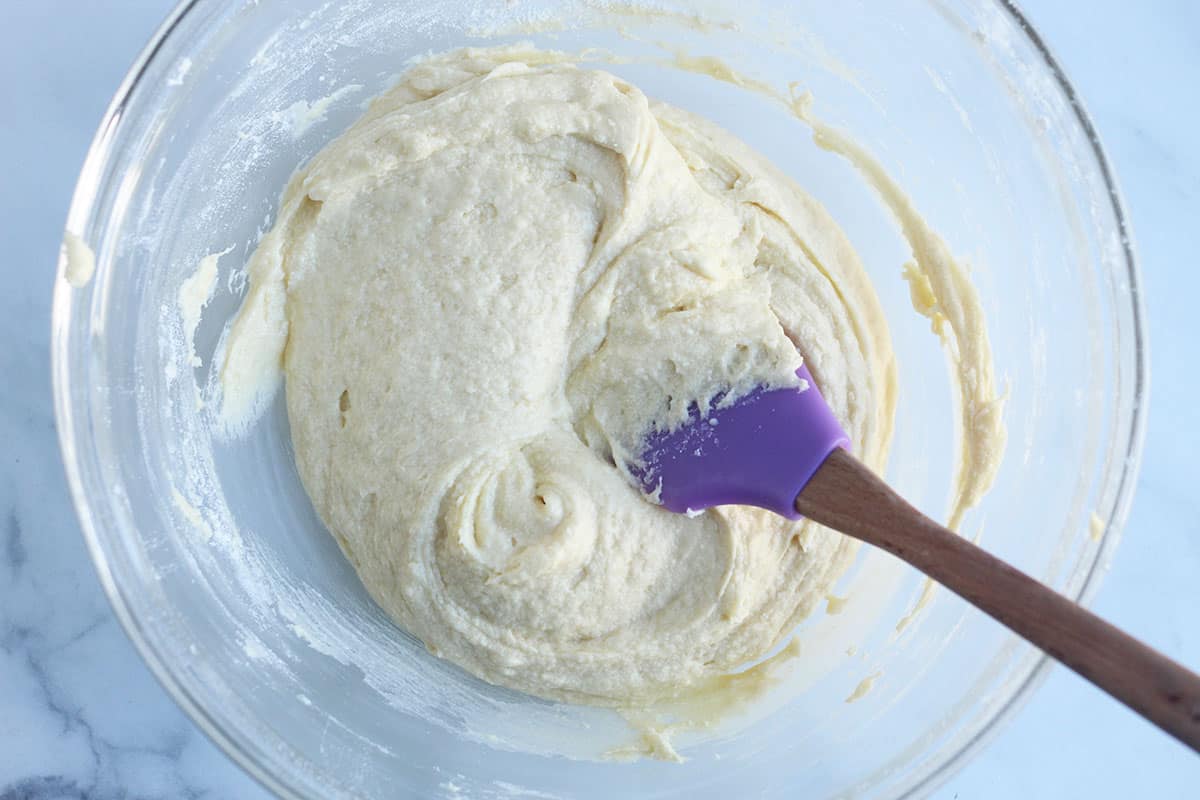
Step 2. Add in the milk, flour, and other dry ingredients and mix gently to combine.
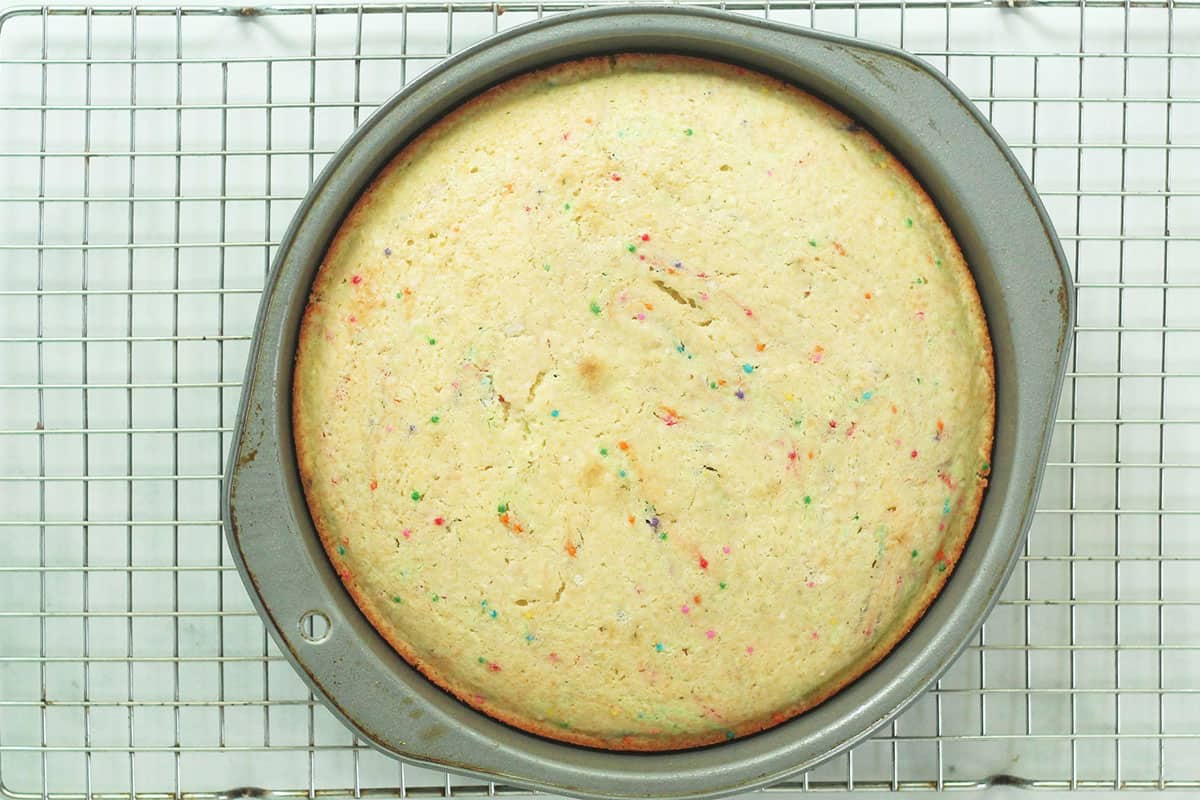
Step 3. Fold in the sprinkles, add to the prepared pan, and bake.
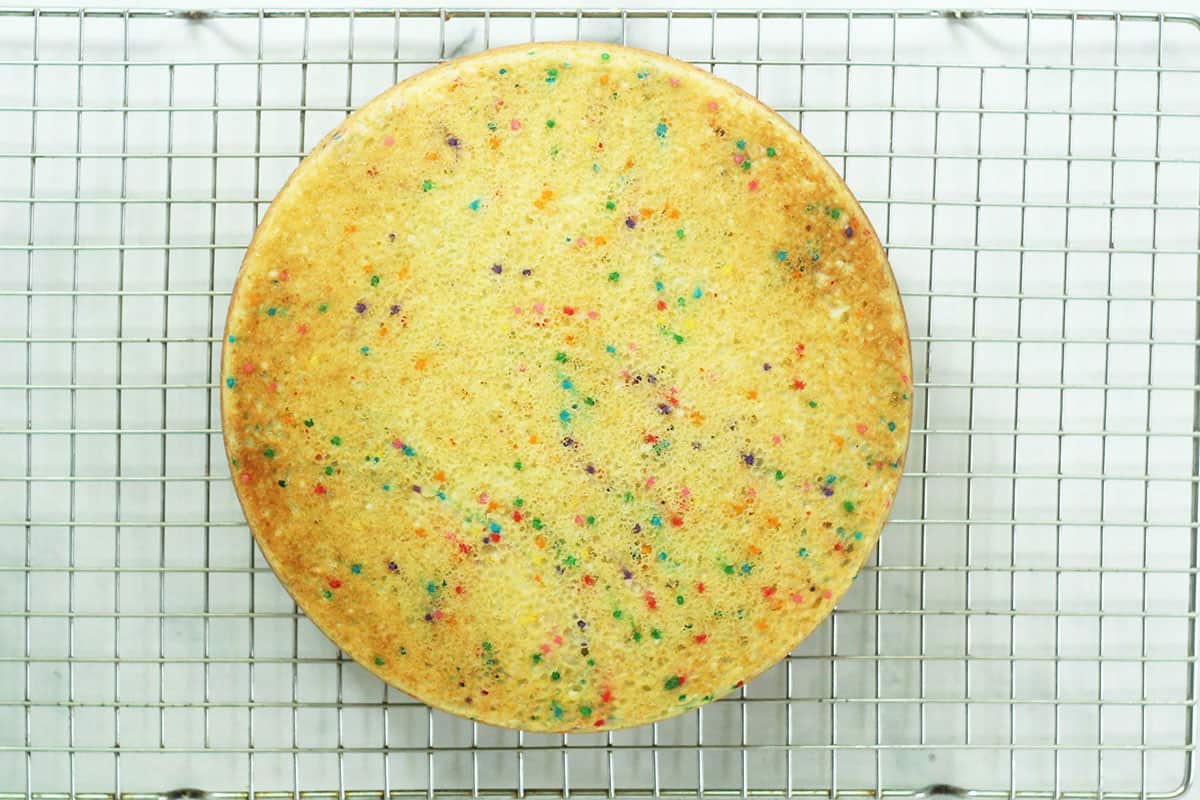
Step 4. Remove cake from the pan and let cool fully on a wire rack.
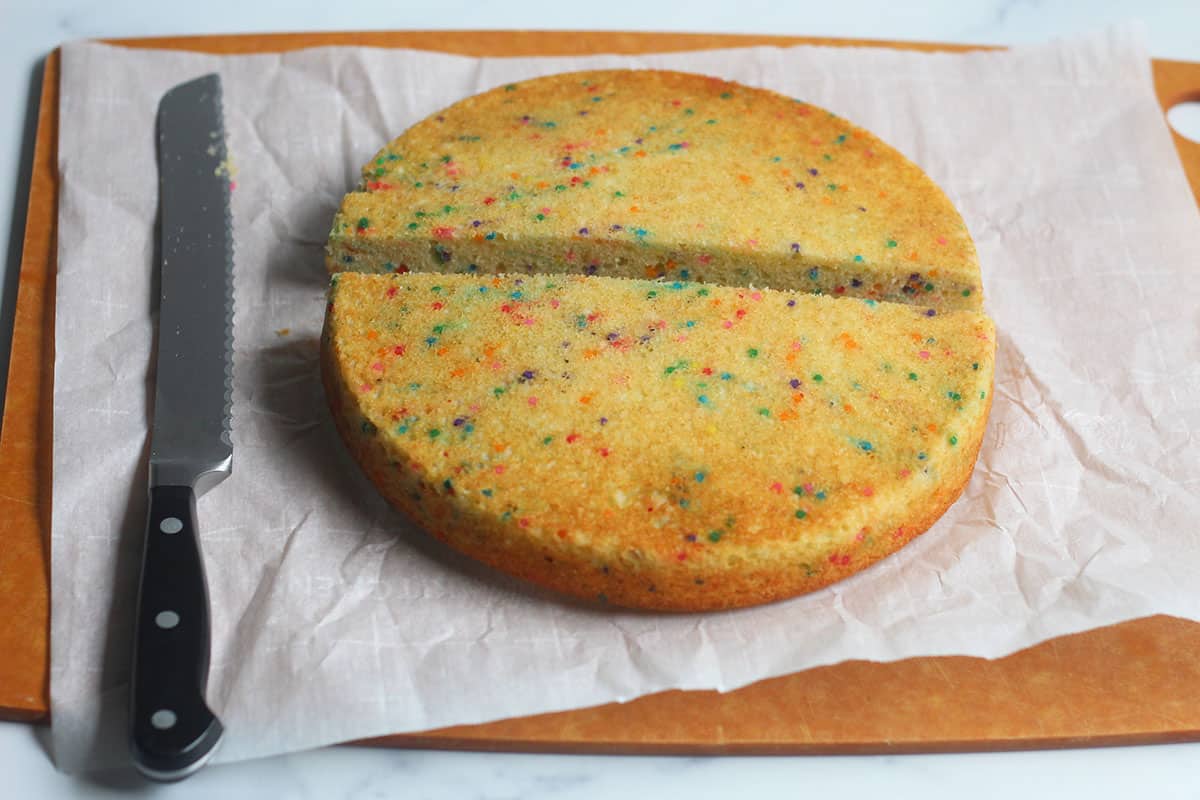
Step 5. Use a serrated knife to cut the cake in half.
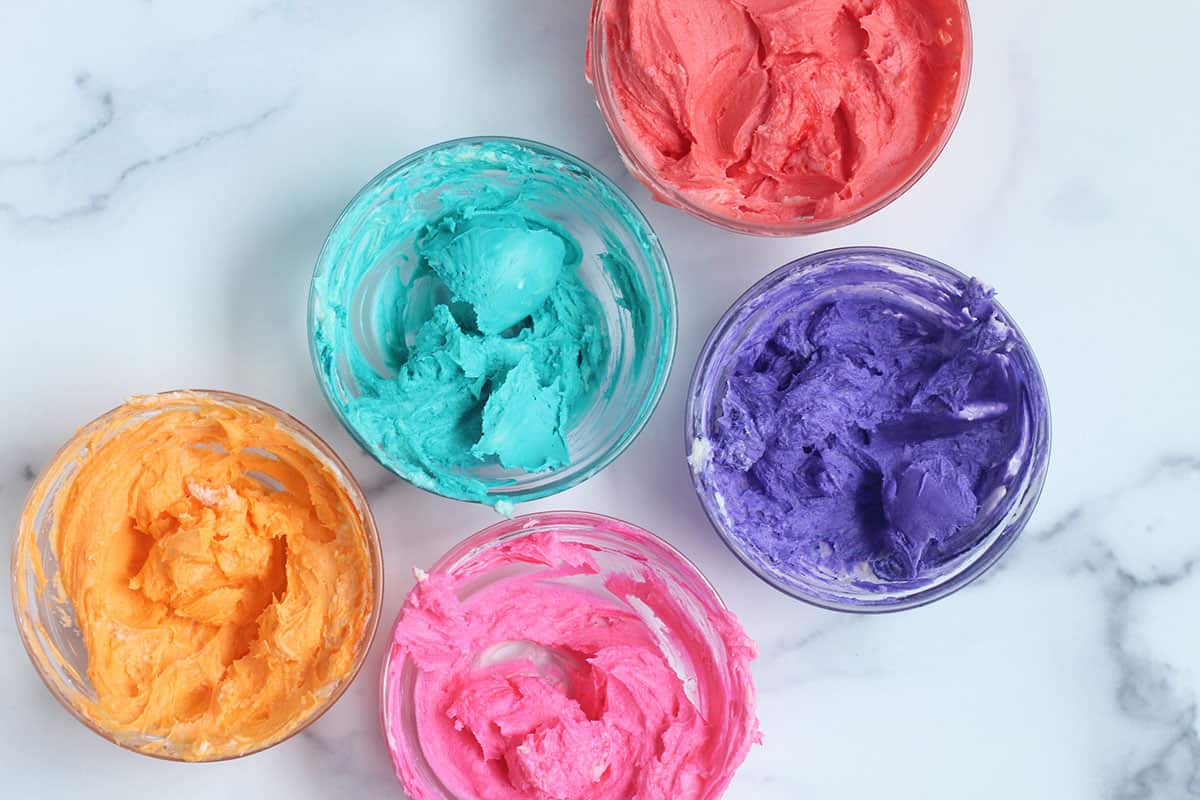
Step 6. Make the frosting. Portion it into bowls and add the food coloring.
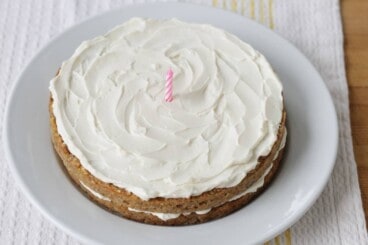
Step 7. Frost between the two halves and sandwich together. Frost the top of the cake.
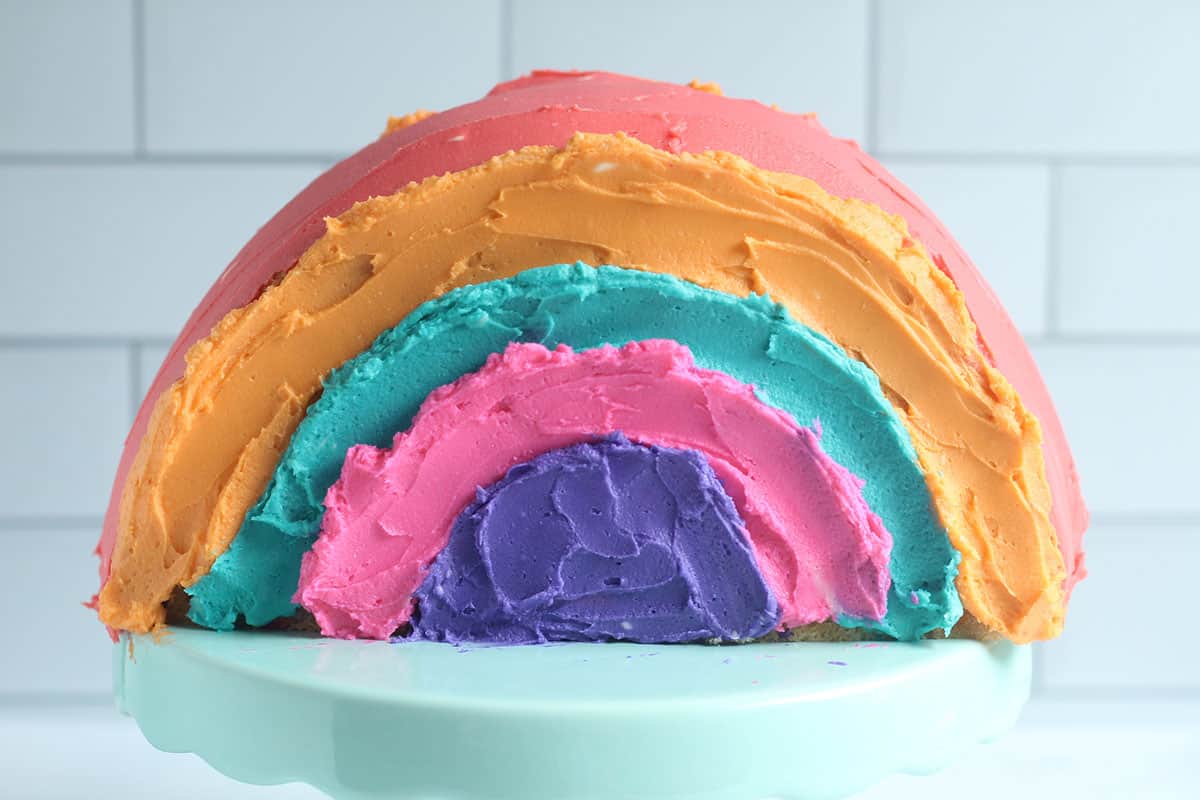
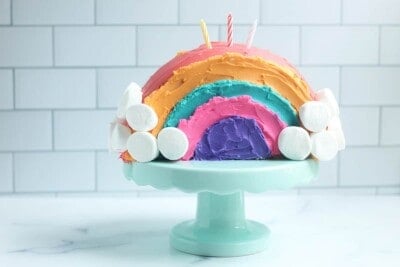
Step 8. Make the stripes of colors as shown to make the rainbow. Stick marshmallows on the end for clouds.
TIP: I usually make the cake the day before I plan to serve this to cut down on how much work I need to do on any one day.
Frequently Asked Questions
Sure! Just choose a few colors. That would be an easy way to make this easier.
I used a small cake icing spatula. I find the smallest size to be easiest to manage. A small butter knife could work too.
Sure, you can use whichever type you prefer. I like the ones from India Tree.

How to Store
This cake is best on the day it’s assembled Cover any leftovers with plastic wrap and store at room temperature for up to 2 days or in the fridge for 3-5.
You can bake the cake the day before you plan to serve it. Let it cool fully on the wire rack, then place onto a plate lined with parchment paper and cover tightly with plastic wrap to make sure it stays fresh. (Or line a large airtight container with parchment paper and cover.) Store at room temperature.
Best Tips for Success
- I used gel food coloring from Wilton for bright colors. Any will work. (This is a natural option from India Tree.)
- I like these plant-based food coloring options.
- I like to add nonpareil-style sprinkles to the cake for a pop of color in each slice.
- A small cake icing spatula is a good tool for adding the frosting, though a butter knife can also work.
- Place candles on top for a birthday cake.
- You may have a little of each frosting color left over.
- Make the cake chocolate using my Healthy Chocolate Cake recipe.
Related Recipes

I’d love to hear your feedback if you try this recipe, so please comment below!
Favorite Rainbow Cake (for Kids Birthdays)
Ingredients
Cake
- ½ cup unsalted butter (1 stick, softened at room temperature)
- ½ cup sugar
- 2 large eggs (at room temperature if possible)
- 2 teaspoons vanilla extract
- ½ cup whole milk (at room temperature if possible)
- 1 ¼ cups all-purpose flour
- 1 ¼ teaspoon baking powder
- ¼ teaspoon salt
- 1 tablespoons nonpariel style sprinkles (optional)
Frosting
- 1 cup unsalted butter (2 sticks, softened at room temperature)
- 12 ounces cream cheese (softened at room temperature; 1 ½ standard size packages)
- 1/2-1 cup powdered sugar
- 1 teaspoon vanilla extract
- 5 colors food coloring
- 12-16 regular size marshmallows
Instructions
To make the cake:
- Preheat the oven to 350 degrees F and grease a 9-inch round cake pan with nonstick spray very well. (I use Classic Pam.)
- Add the butter and sugar to a medium bowl. Beat with a hand-held electric mixer on medium-high speed until light, fluffy, and thick or about 3-5 minutes.
- Add in the eggs one at a time, beating in between to fully incorporate each egg.
- Add in the vanilla.
- Add the baking powder, salt, and half of the flour to the bowl. Beat on the lowest speed. Add half of the milk. Beat on the lowest speed. Add the remaining flour and milk and beat on the lowest speed to just combine the batter. Gently fold in the sprinkles if using.
- Add the batter to the prepared cake pan.
- Bake for 24-26 minutes or until just golden brown around the edges and a cake tester inserted into the center comes out clean.
- Remove from the oven. Run a knife around the edges, and invert carefully onto a wire rack to cool completely.
To make the frosting:
- Add the butter, cream cheese, ½ cup powdered sugar, and vanilla to a large bowl. Beat with a hand-held electric mixer, starting on slow (to prevent the powdered sugar from flying all over!) and working up to high for 30-60 seconds or until well mixed and fluffy. Taste and add more powdered sugar as you like. (I usually use 1 cup.)
- Place 1 ¼ cups of the frosting into a medium bowl. Add 1-2 drops food coloring (this is the top of the rainbow—I used red food coloring here) and stir to combine.
- Divide the remaining frosting into 4 small bowls. Add 1-2 drops of the remaining colors of food coloring to each and stir to combine.
To assemble the cake:
- Carefully place the cake onto a cutting board. Use a serrated knife to cut in half.
- Use the red frosting to coat the middle of one half. Sandwich the other half on and place, cut side down and standing upright, onto a cake stand or platter.
- Use the remaining red frosting to coat the top edge of the cake, hiding the seam.
- Working your way down from the top edge of the cake, add each color of the rainbow. (It’s okay if it’s not perfect!)
- Cut each marshmallow in half with scissors and place the sticky side onto the base of the sides as clouds.
- Slice to serve.
Equipment
Video
Notes
- This cake is best on the day it’s assembled Cover any leftovers with plastic wrap and store at room temperature for up to 2 days or in the fridge for 3-5.
- You can bake the cake the day before you plan to serve it. Let it cool fully on the wire rack, then place onto a plate lined with parchment paper and cover tightly with plastic wrap to make sure it stays fresh. (Or line a large airtight container with parchment paper and cover.) Store at room temperature.
- I used gel food coloring from Wilton for bright colors. Any will work.
- I like these plant-based food colorings.
- A small cake icing spatula is a good tool for adding the frosting, though a butter knife can also work.
- Place candles on top for a birthday cake.
- You may have a little of each frosting color left over.
- Make the cake chocolate using my Healthy Chocolate Cake recipe.
Nutrition
This post was first published May 2021.


Hello,
I need to make a cakes for my son’s birthday. Would you recommend doubling the amounts or making one at a time?
I will bake the base one day before and wrap it in cling paper. Should I place them in the fridge? I live in a warm country (singapore) so let me know what’s the best option. Frostings I’ll do on the day of his birthday.
Many thanks
Hi- how many cakes and which size are you wanting to make?
Flavor is so good and love the cream cheese frosting! Mine came out dense but not dry (as eaten with frosting). Thoughts on what I could be doing wrong?
It sounds like your baking powder might be a bit old. Or it wasn’t beaten long enough.
As always, Amy’s recipes turn out wonderful and are a huge hit. I used this recipe to make my daughters birthday cake for a rainbow themed birthday party. We did the icing a little differently and used pipping bags to add the rainbow colours, But it all turned out great, and tasted super delicious. Thank you!
Do you have a link for the cake stand?
It was from World Market about 4 years ago!
Did you frost both side of the cake or did you leave one side plain?
I do both sides but you can leave one plain if you prefer.
I would love to make it for my 3 year old but I am coeliac and want to be able to eat too. Do you have any tips to make it gluten free? Should I just swap to gf flour? Or almond meal?
Thank you
I would recommend the cup for cup gf flour blend from king arthur flour. It will not work with almond flour.
Do the nonpariel style sprinkles that you prefer get soft in the cake or are they crunchy? Thanks!
They’re soft!
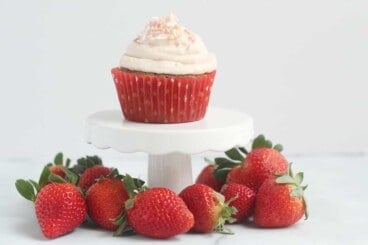
My toddler wants this cake for her 3rd birthday, but would love it to be strawberry flavored! Is there any way I can add a strawberry reduction to the batter by altering other ingredients? I’d like to avoid just using strawberry flavoring.
You could grind up freeze-dried strawberries into a powder and add 1 cup to the batter without any other alternations (I think!). That lends great flavor to pancakes so I am thinking it would also work well here. Or maybe strawberry jam between the layers?
My 4 year old enjoyed the cake!! Thanks !
That’s lovely. Would definitely try it 🙂 Your kid looks beautiful She is super excited aboout this cake idea 🙂 Hugs to her. Thank you for the recipe.
I used a little dab of.icing to the marshmallows to pile them on top of one another to create a more realistic cloud form….looked amazing…I still used a cake plate n managed to hang them over the edge of the plate so it seemed like they were floating..
This is so great, thank you! I recently did an exhaustive-feeling search for rainbow cakes and I agree, it is so hard to find ones that aren’t a hidden reveal in the cake interior. Thanks for coming up with a simple way to make the rainbow obvious. One tip: adding the powdered sugar gradually and beating a lot in between keeps the frosting consistency spreadable and helps get away with the lower sugar amount, which is great! Still plenty sweet!
That’s a great tip, thanks for sharing that!