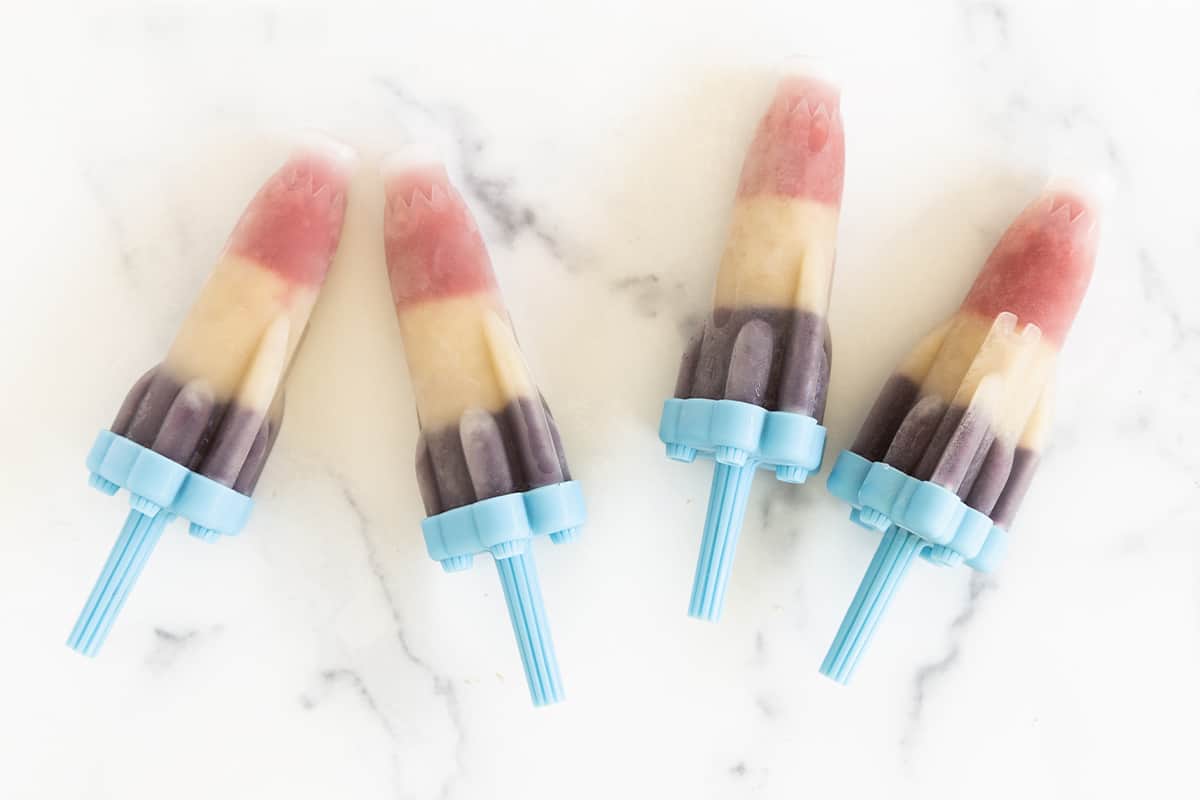
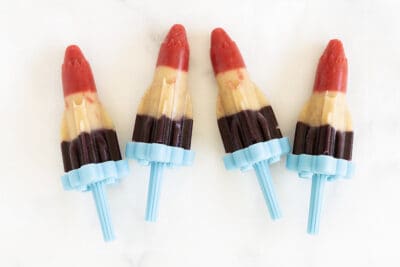
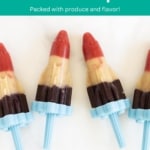
Transform three kinds of fruit into the most fun popsicle to share with the kids. These homemade Rocket Pops are easy, flavorful, and perfect for celebrating.

My girls love the bright red, white, and blue popsicles that make a frequent appearance at holiday parties each summer, so I thought I’d put our rocket popsicle molds to good use and make a produce-packed version at home.
This Rocket Pop recipe is SO fun. And they are a nutritious snack to share with the kids when it’s super hot outside!
You can make these with fresh or frozen fruit, and there are a few options for added flavors, too. Which means they are super versatile and can work with any allergies or budgets.
We’ve been eating them (along with our favorite Strawberry Popsicles) as a frozen dessert recipe. And as an easy Memorial Day recipe and an easy 4th of July recipe.
Table of Contents
Your toddler won’t eat? Help is here!
Sign up for our email updates to get tips and ideas sent your way!
Ingredients You Need
To make these popsicles you’ll need to have the following ingredients on hand and ready to go.
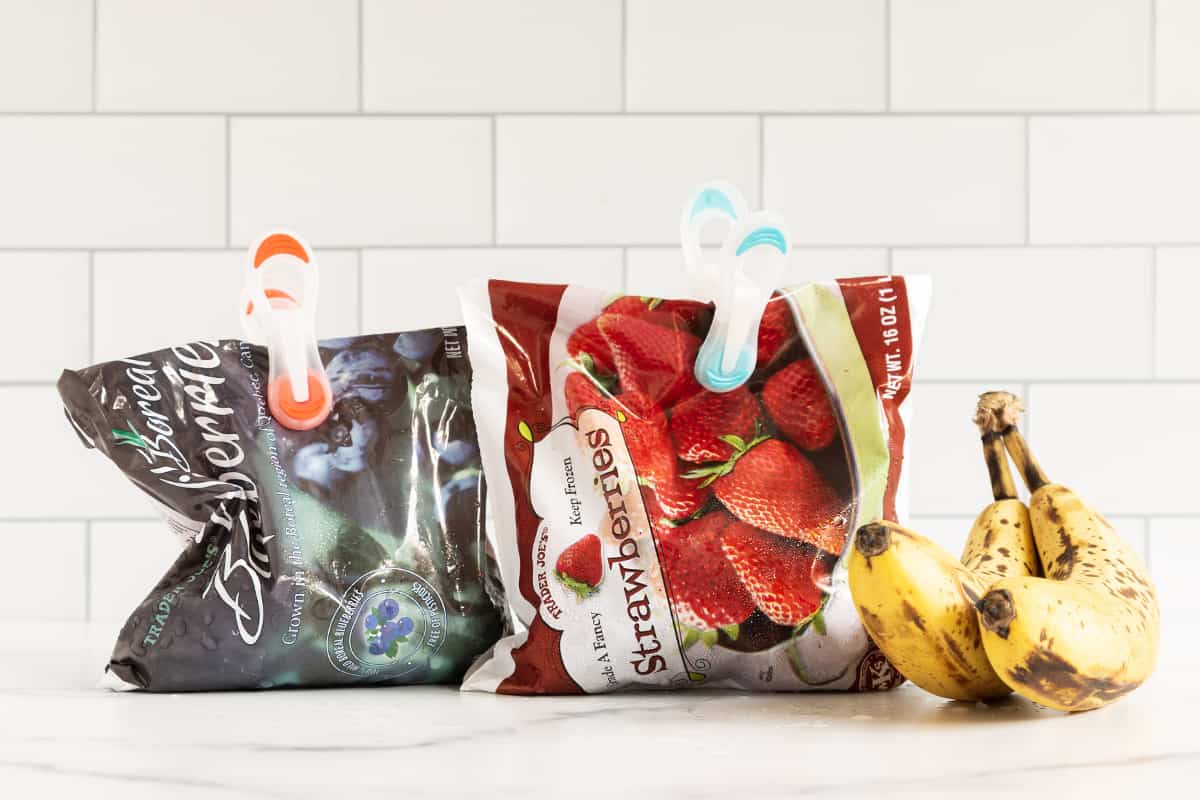
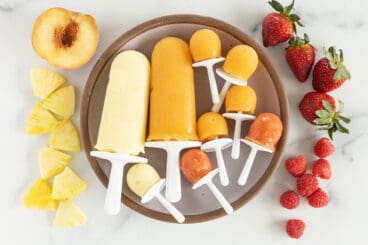
- Strawberries: This is the red layer and you can use fresh or thawed frozen strawberries. Both work similarly.
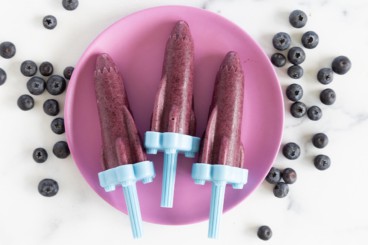
- Blueberries: I prefer using frozen wild blueberries as the blue layer as they are very bright and more flavorful than regular ones, but if you only have regular ones that’s fine too.
- Banana: I use ripe banana as the middle white layer. You could also use vanilla yogurt if you wanted to.
- Honey or maple syrup: If you taste your fruit purees and they aren’t super sweet, feel free to sweeten to taste.. Just avoid honey for babies under 1 year of age.
Step-by-Step Instructions
Here’s a look at the simple process involved in this rocket popsicle recipe. Scroll down to the bottom of this post for the full info, including the amounts and the timing.
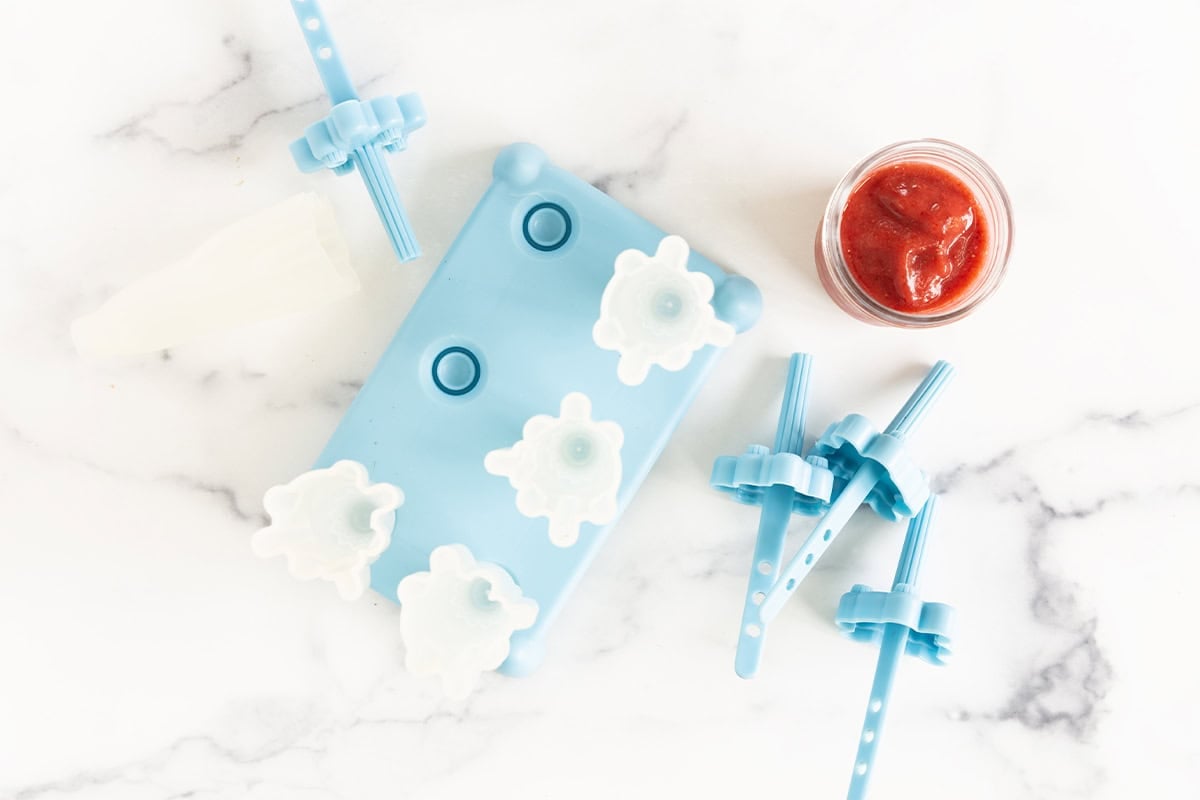
Step 1. Starting with the Strawberry Layer, blend the ingredients until smooth.
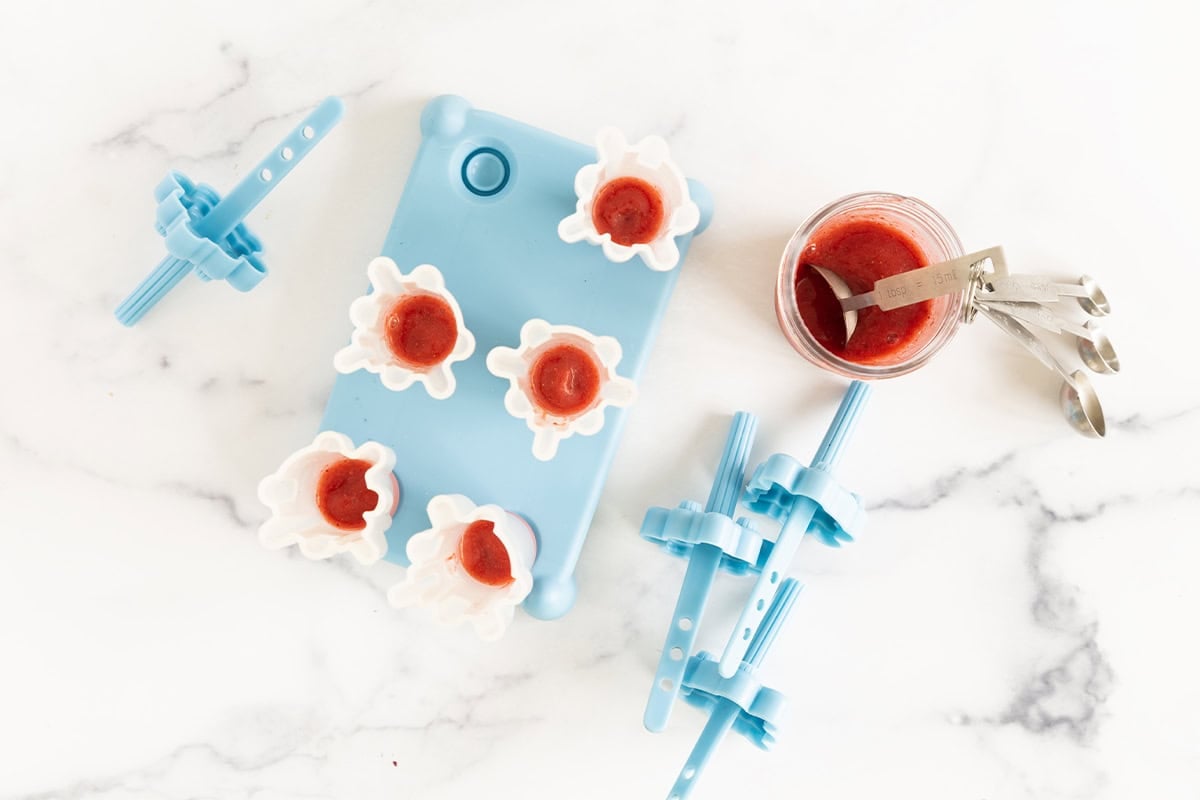
Step 2. Poor into a popsicle mold, filling about ⅓ of the way. Freeze briefly.
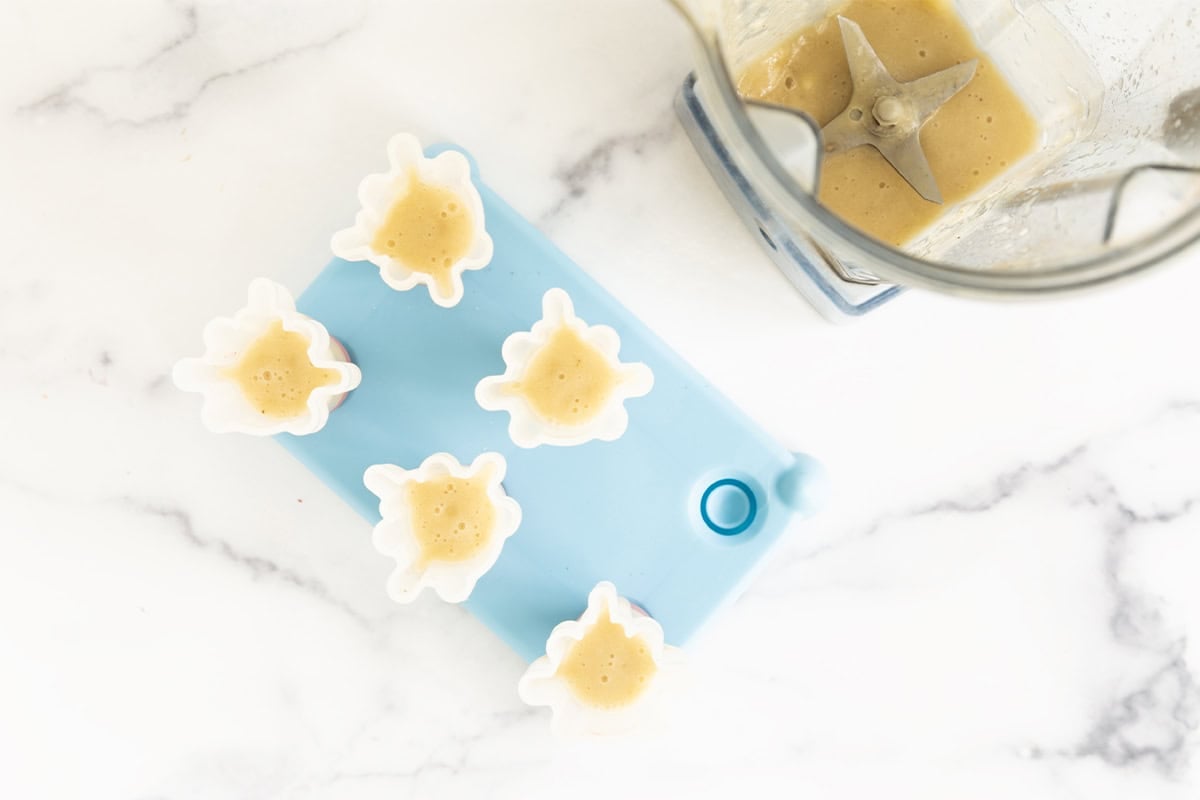
Step 3. Make the Banana Layer, blending the ingredients smooth. Add to the popsicle mold, filling to about 2/3 full for the white layer. Freeze briefly.
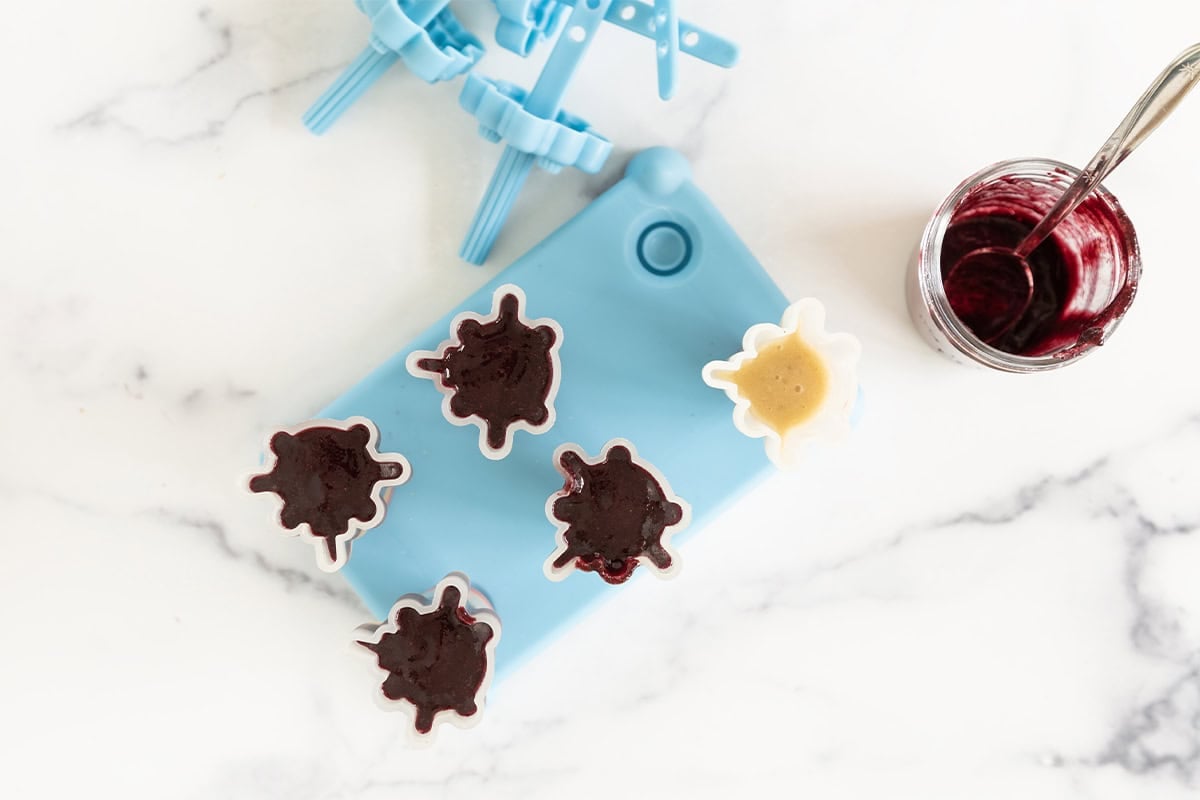
Step 4. Make the Blueberry Layer, blending the ingredients smooth. Add to the popsicle mold, filling to the top. Add the sticks and freeze until firm
Rocket Pop FAQs
Rocket pops are popsicles with three layers of different colors. The mold makes a popsicle in the shape of a rocket.
To make this rocket popsicle recipe, which is similar to how a bomb pop looks from the store, we make three fruit mixtures and then freeze them to make layers.
To make these fruit popsicles without a blender, you can use three flavor of yogurt—strawberry, vanilla or plain, and blueberry. The colors will be softer in the finished rocket pop, but it works too.
Best Molds for Rocket Pops
We have these popsicle molds that are in the shape of rockets and they are so fun for all sorts of popsicle flavors, but especially these!
Best Tips for Success
- You can make these in a popsicle mold or in small disposable bathroom cups with a popsicle stick inserted into the center.
- You can use fresh or frozen fruit for these rocket popsicles. If using frozen fruit, thaw it first so it’s easy to blend.
- Sweeten the rocket popsicles to taste (sweetness will vary based on the flavor of your fruit).
- Try my Graham Cracker Icebox Cake for another easy dessert for kids.
- And here’s my full guide to How to Make Popsicles. You may also like Strawberry Frozen Yogurt, easy Carrot Smoothie, and Blueberry Popsicles.
More Popsicles to Try
Desserts
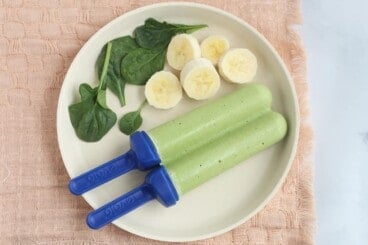
Easy Green Smoothie Popsicles
Desserts
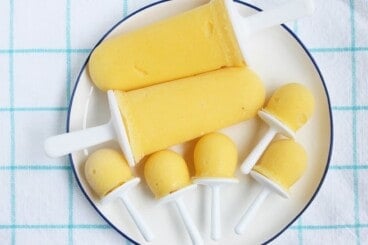
Easy Mango Popsicles
Snacks
Easy Fruit Popsicles
Desserts
Favorite Blueberry Popsicles
I’d love to hear your feedback on this recipe, so please comment below to share!
Easy Rocket Pops
Ingredients
- 1½ cup strawberries (stems discarded; if using frozen, thaw first)
- 1½ cup very ripe banana (about 1 large banana)
- 1½ cup wild blueberries (look in the freezer aisle or use regular ones; if using frozen thaw first)
Instructions
- Starting with the Strawberry Layer, blend the berries until smooth. Poor into the mold, filling about ⅓ of the way. Freeze for about 10 minutes or until just starting to freeze.
- Make the Banana Layer, blending the banana until smooth. Add to the mold, filling to about 2/3 full to make the white layer. Freeze for about 10 minutes or until just starting to freeze.
- Make the Blueberry Layer, blending the berries until smooth. Add to the mold, filling to the top. Add the sticks and freeze until firm, about 4-6 hours or overnight.
- (If you have leftover puree, stir into plain yogurt to make flavored yogurt or freeze in an ice cube tray to add to future smoothies.)
- Serve. (If using a popsicle mold with a cover, run it under hot water for about 10 seconds or let sit at room temperature for a few minutes to loosen easily.)
Equipment
Notes
- You can make these in a popsicle mold or in small disposable bathroom cups with a popsicle stick inserted into the center.
- If the bottom layer is too firm to push the stick into after you add the third layer, simply let them sit at room temperature for 15-20 minutes to soften slightly. Push the stick in, then freeze.
- You can use fresh or frozen fruit for these. If using frozen fruit, thaw first so it’s easy to blend.
- Sweeten to taste (sweetness will vary based on the flavor of your fruit).
- Store popsicles in molds in a zip top storage bag for up to 1 month.
- To make without a blender, use three flavors of yogurt—strawberry, vanilla or plain, and blueberry. The color will be softer, but the flavor and texture is very yummy.
Nutrition
This post was first published May 2018.


Ok so I made these and it all went smoothly until taking the popsicles out of the container. The stick came out. How do I get them to come out completely.
It sounds like they just needed a little more time in the freezer!
Does this work well with Greek yogurt too, or is it too thick?